In this video tutorial, you’ll learn how to knit a cable hat from start to finish. This hat features a soft ribbed brim and classic cable stitches that give it a textured, timeless look. We’ll guide you through casting on, knitting the cables, shaping the crown, and finishing the hat. It’s a great project if you want to practice cable knitting and make a warm accessory for colder days.
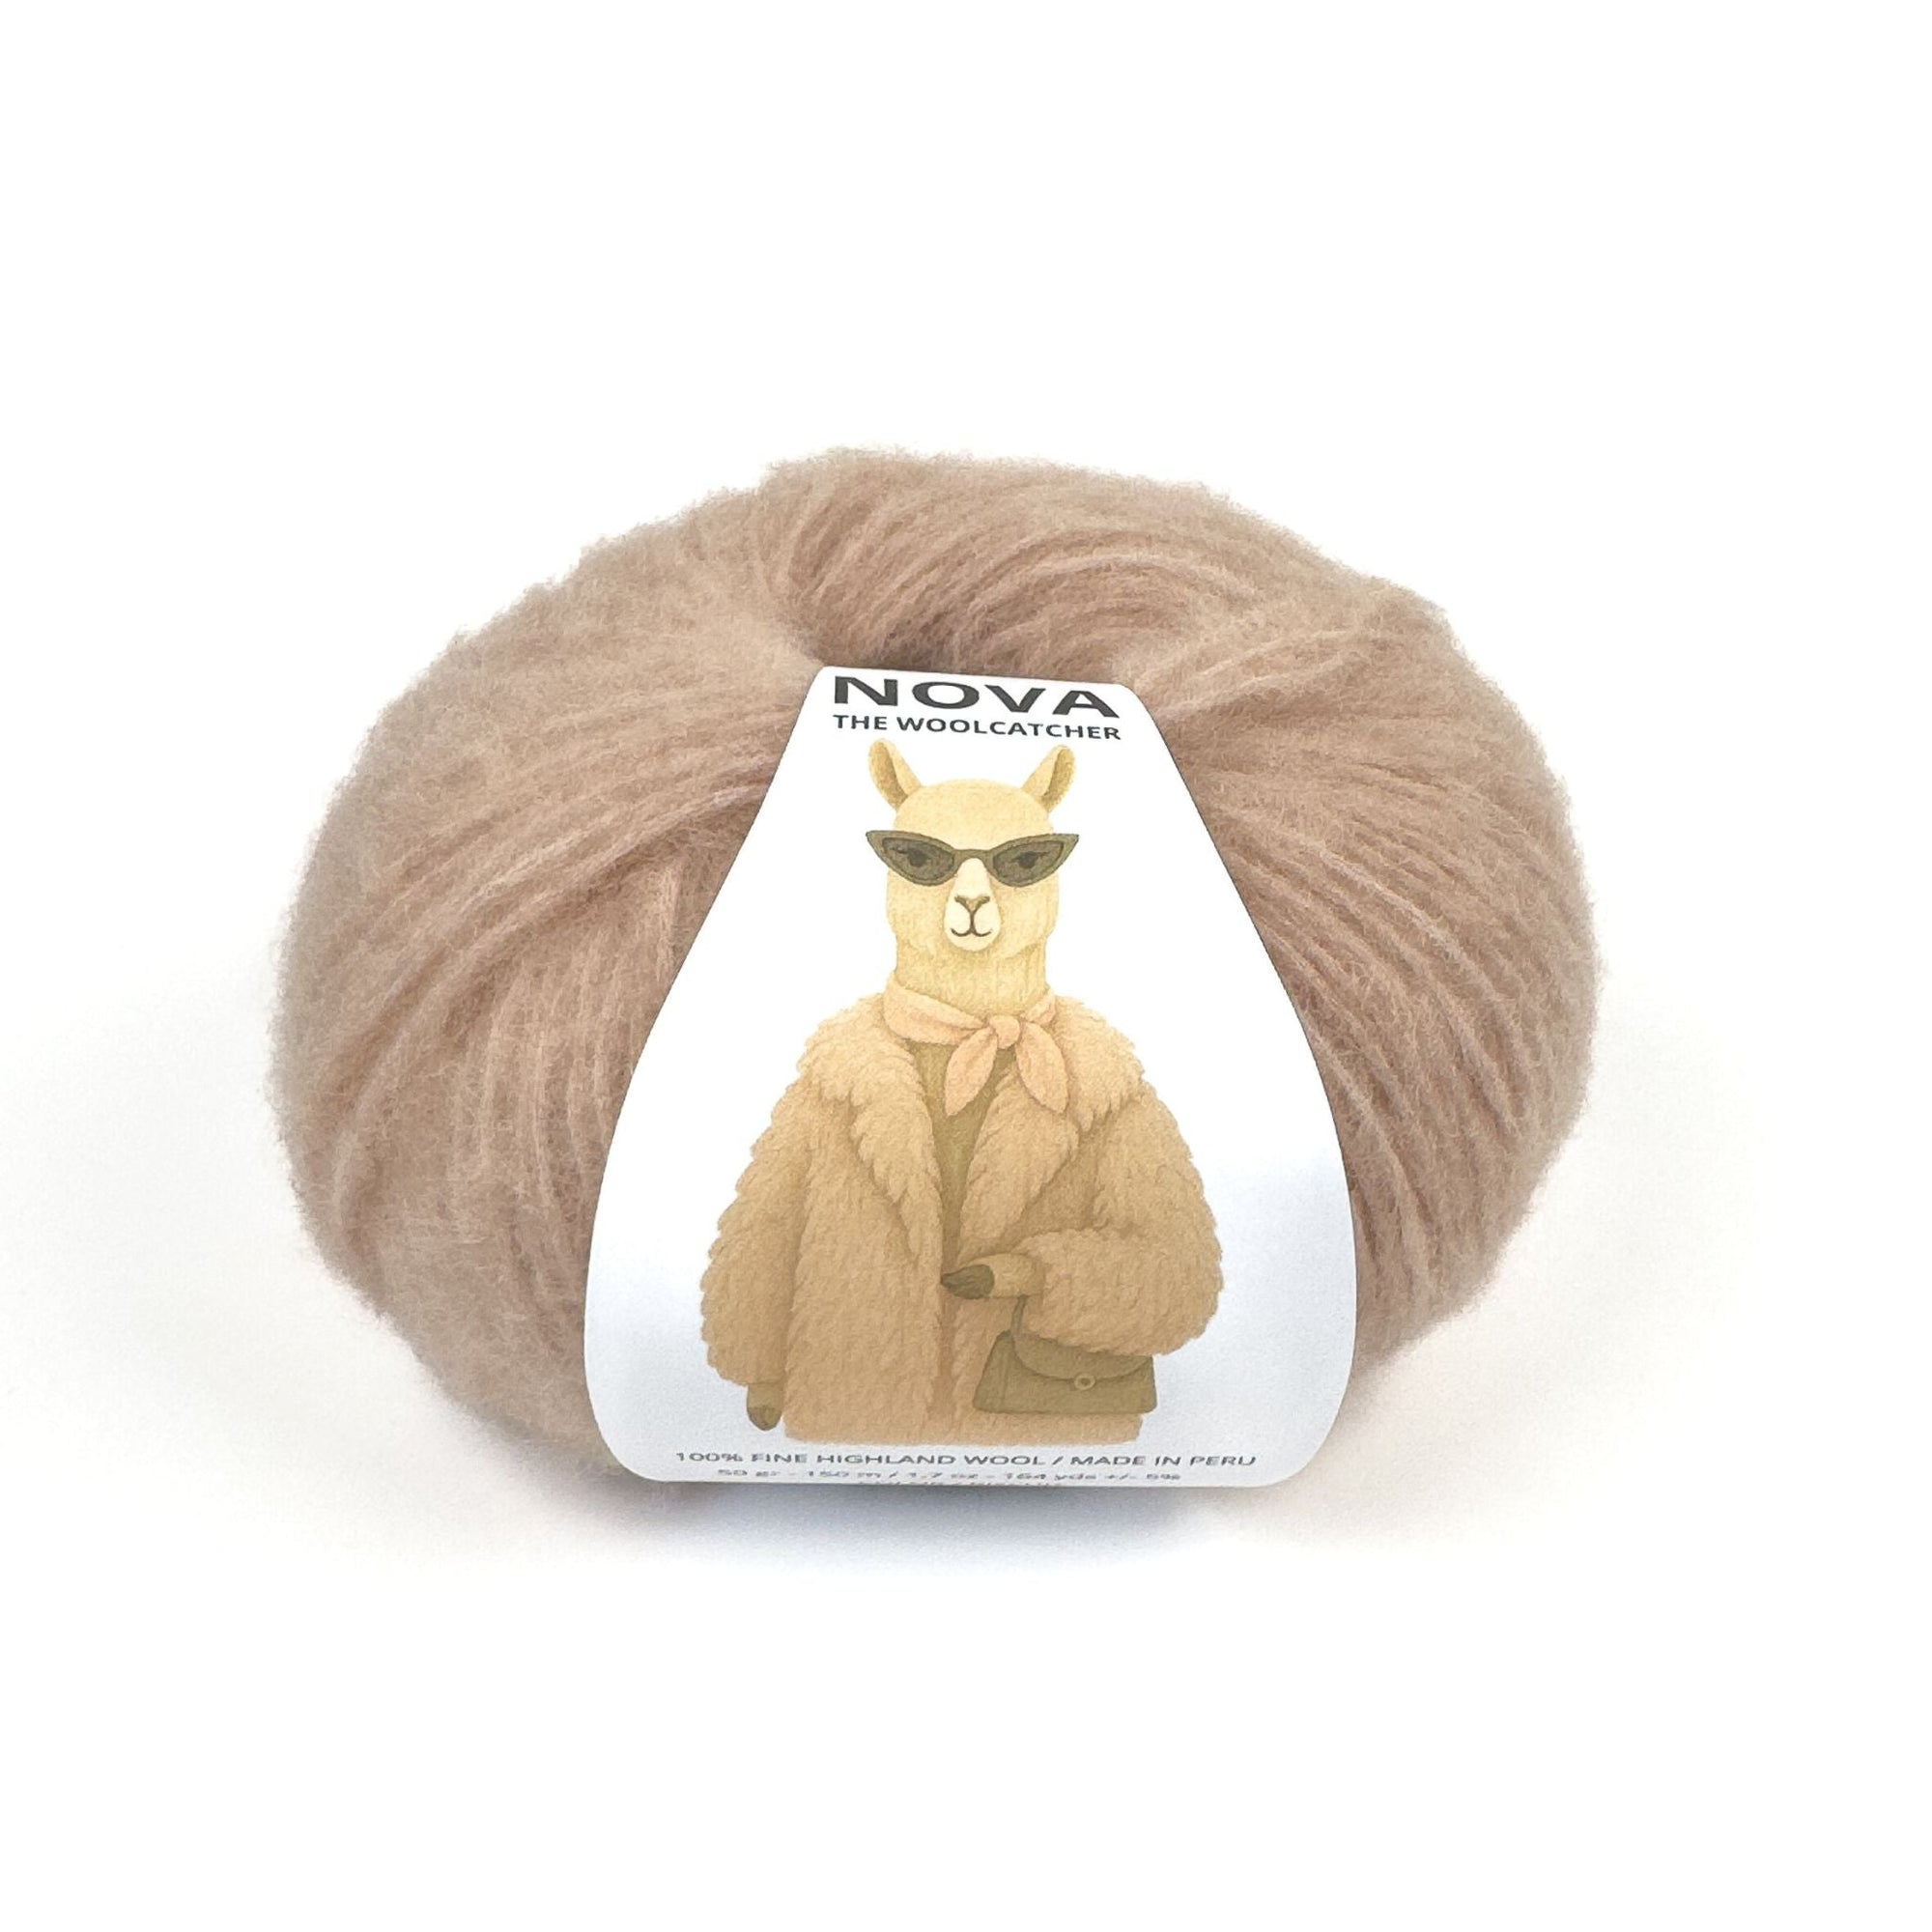
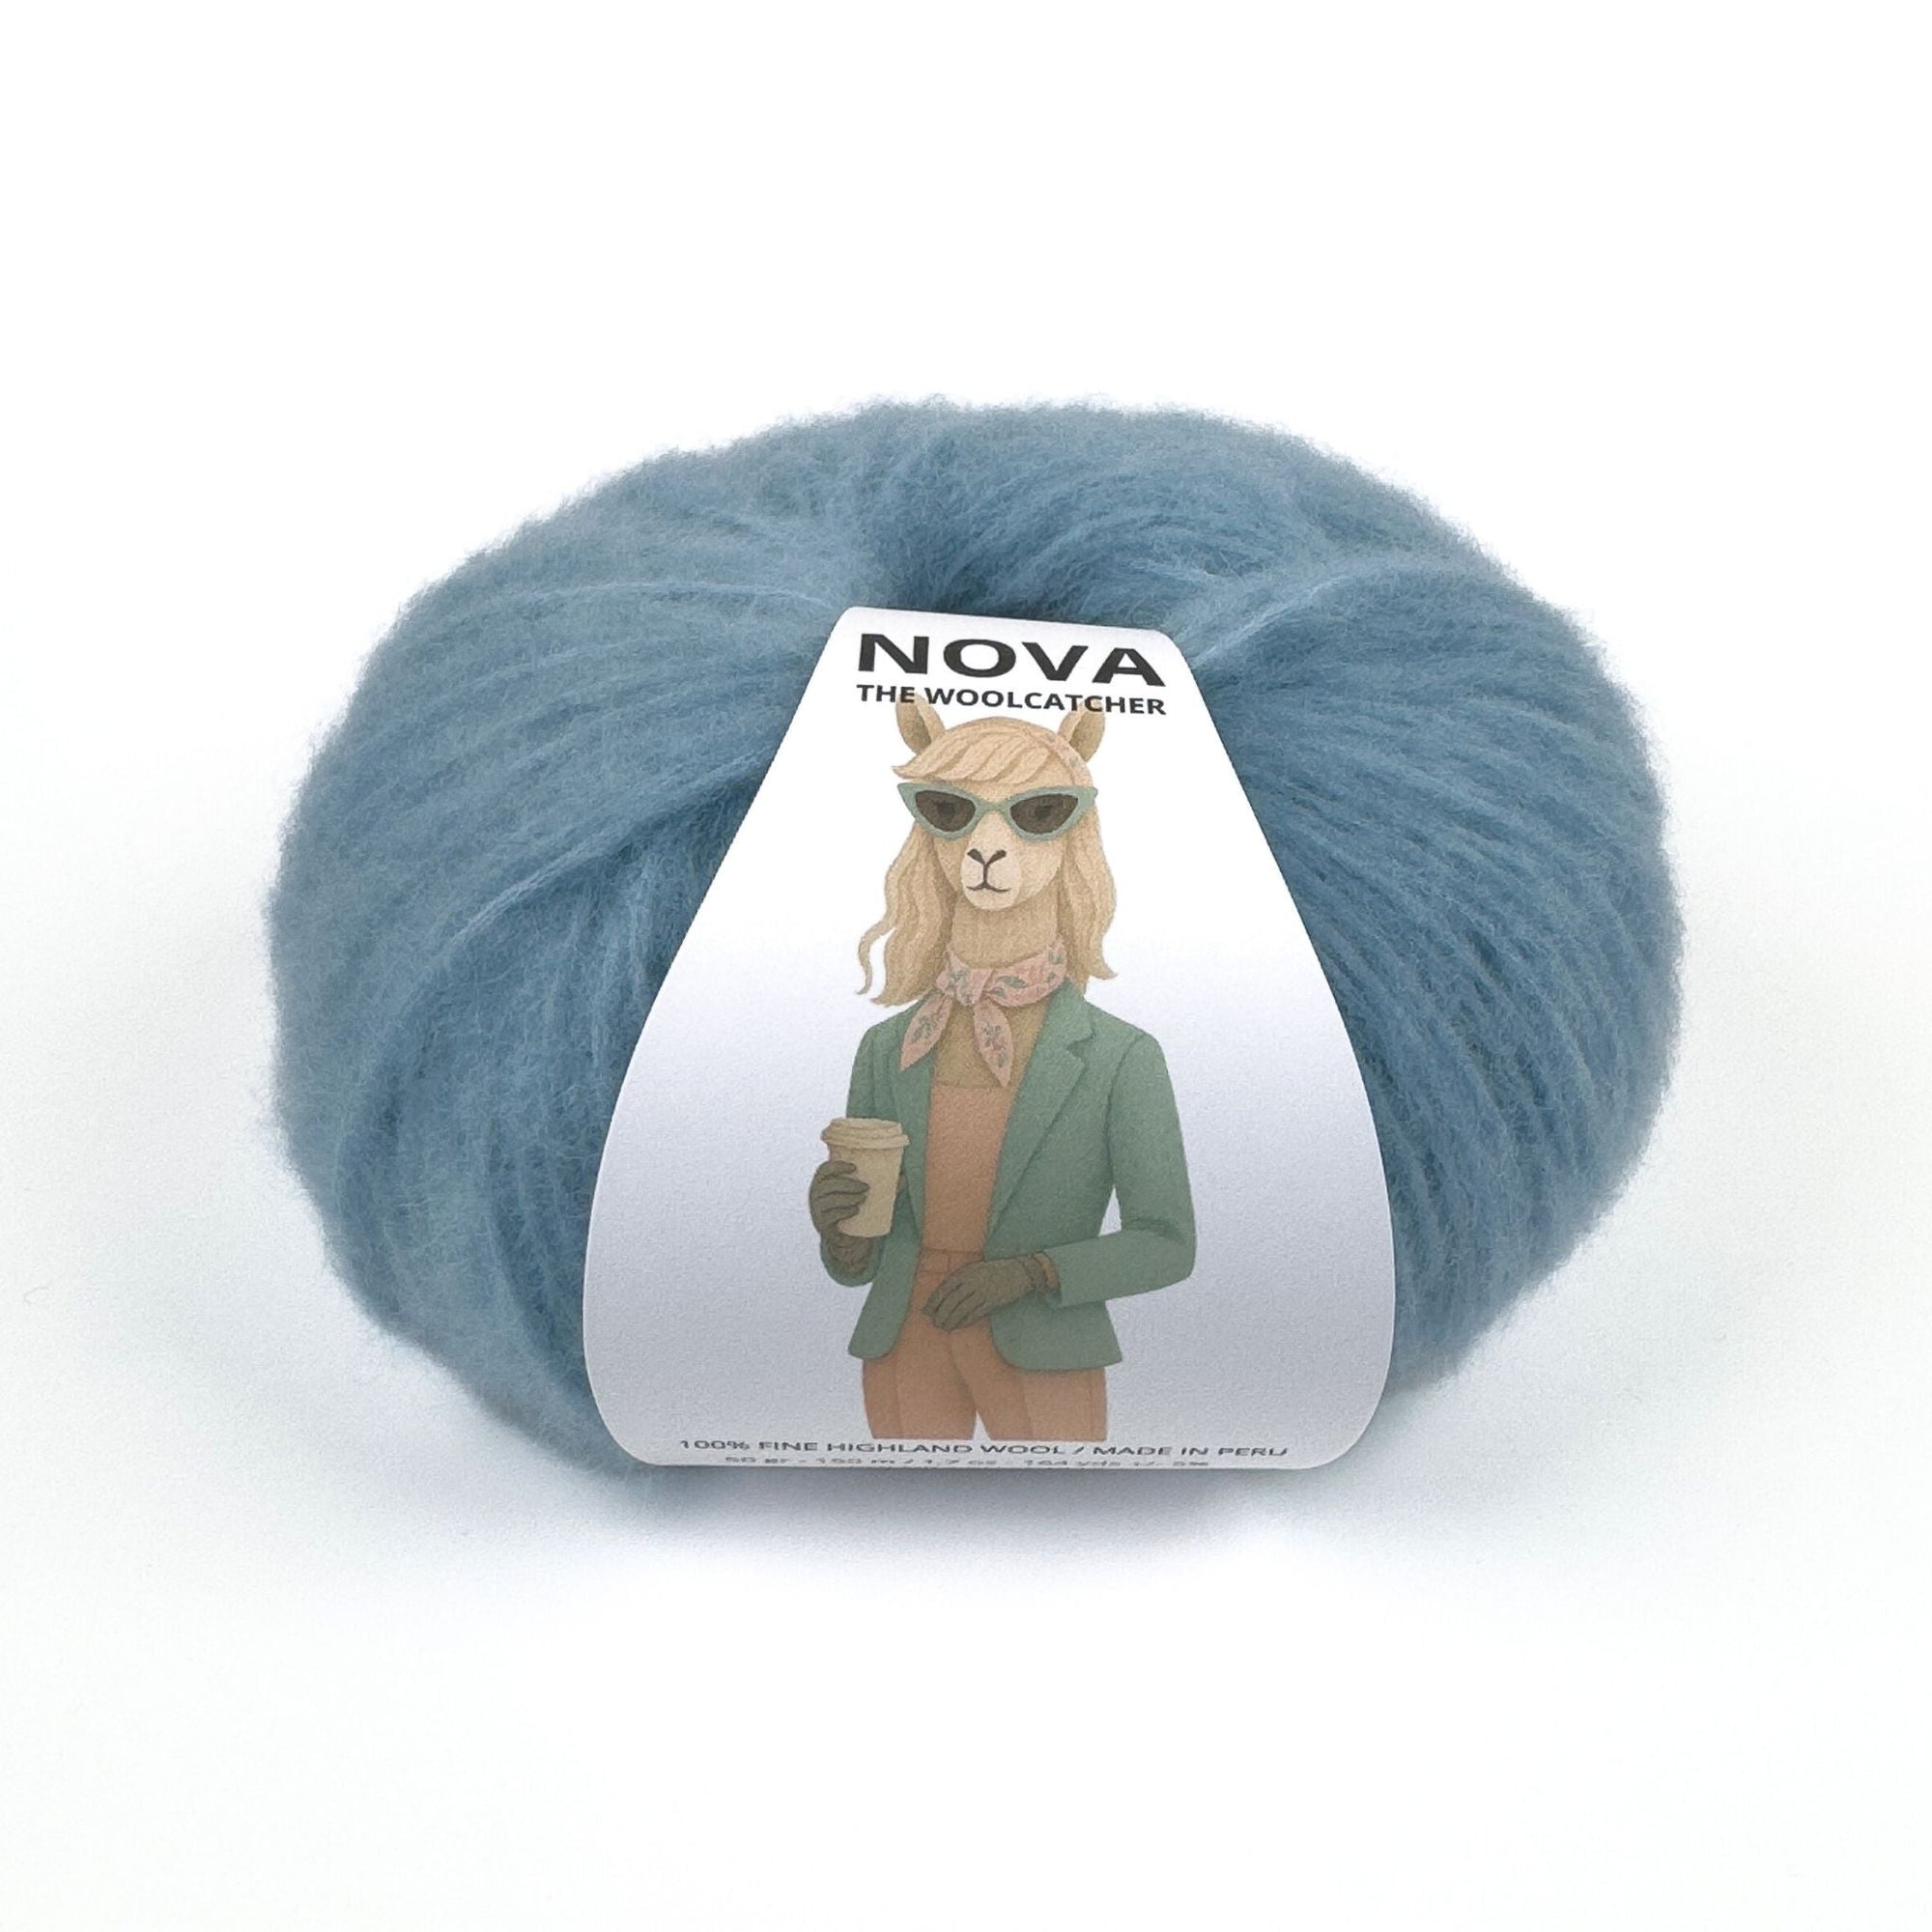
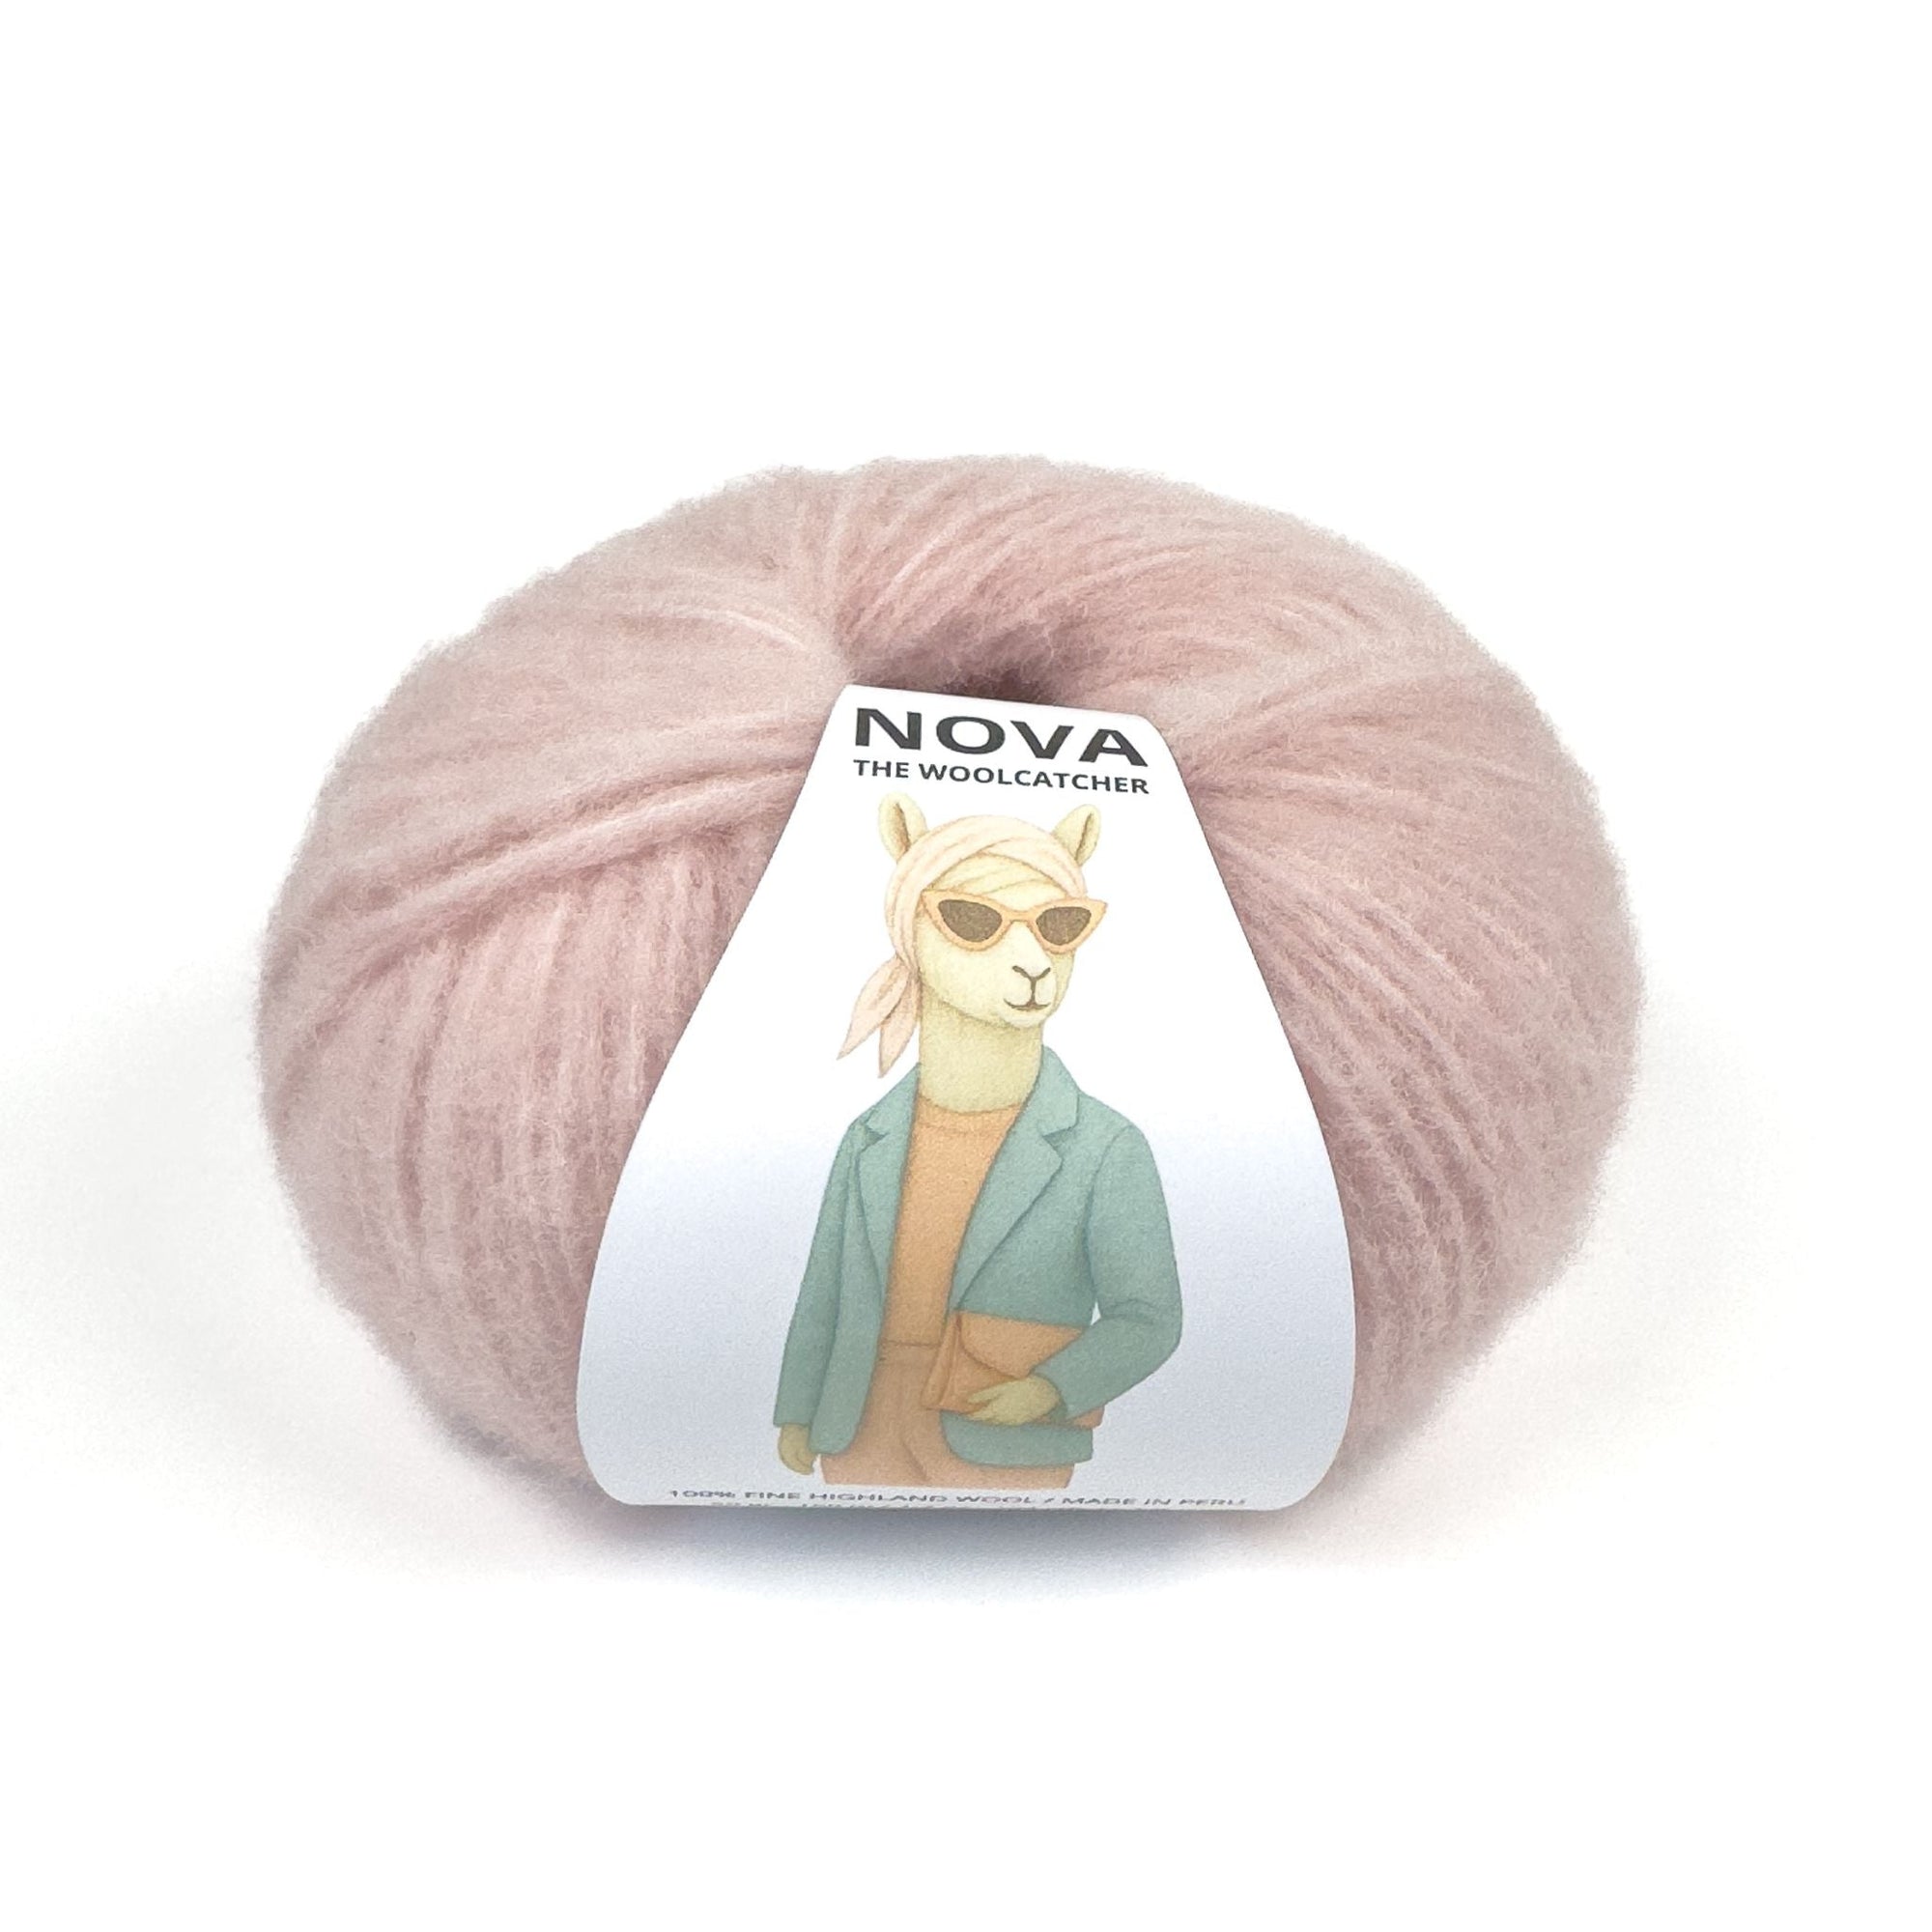
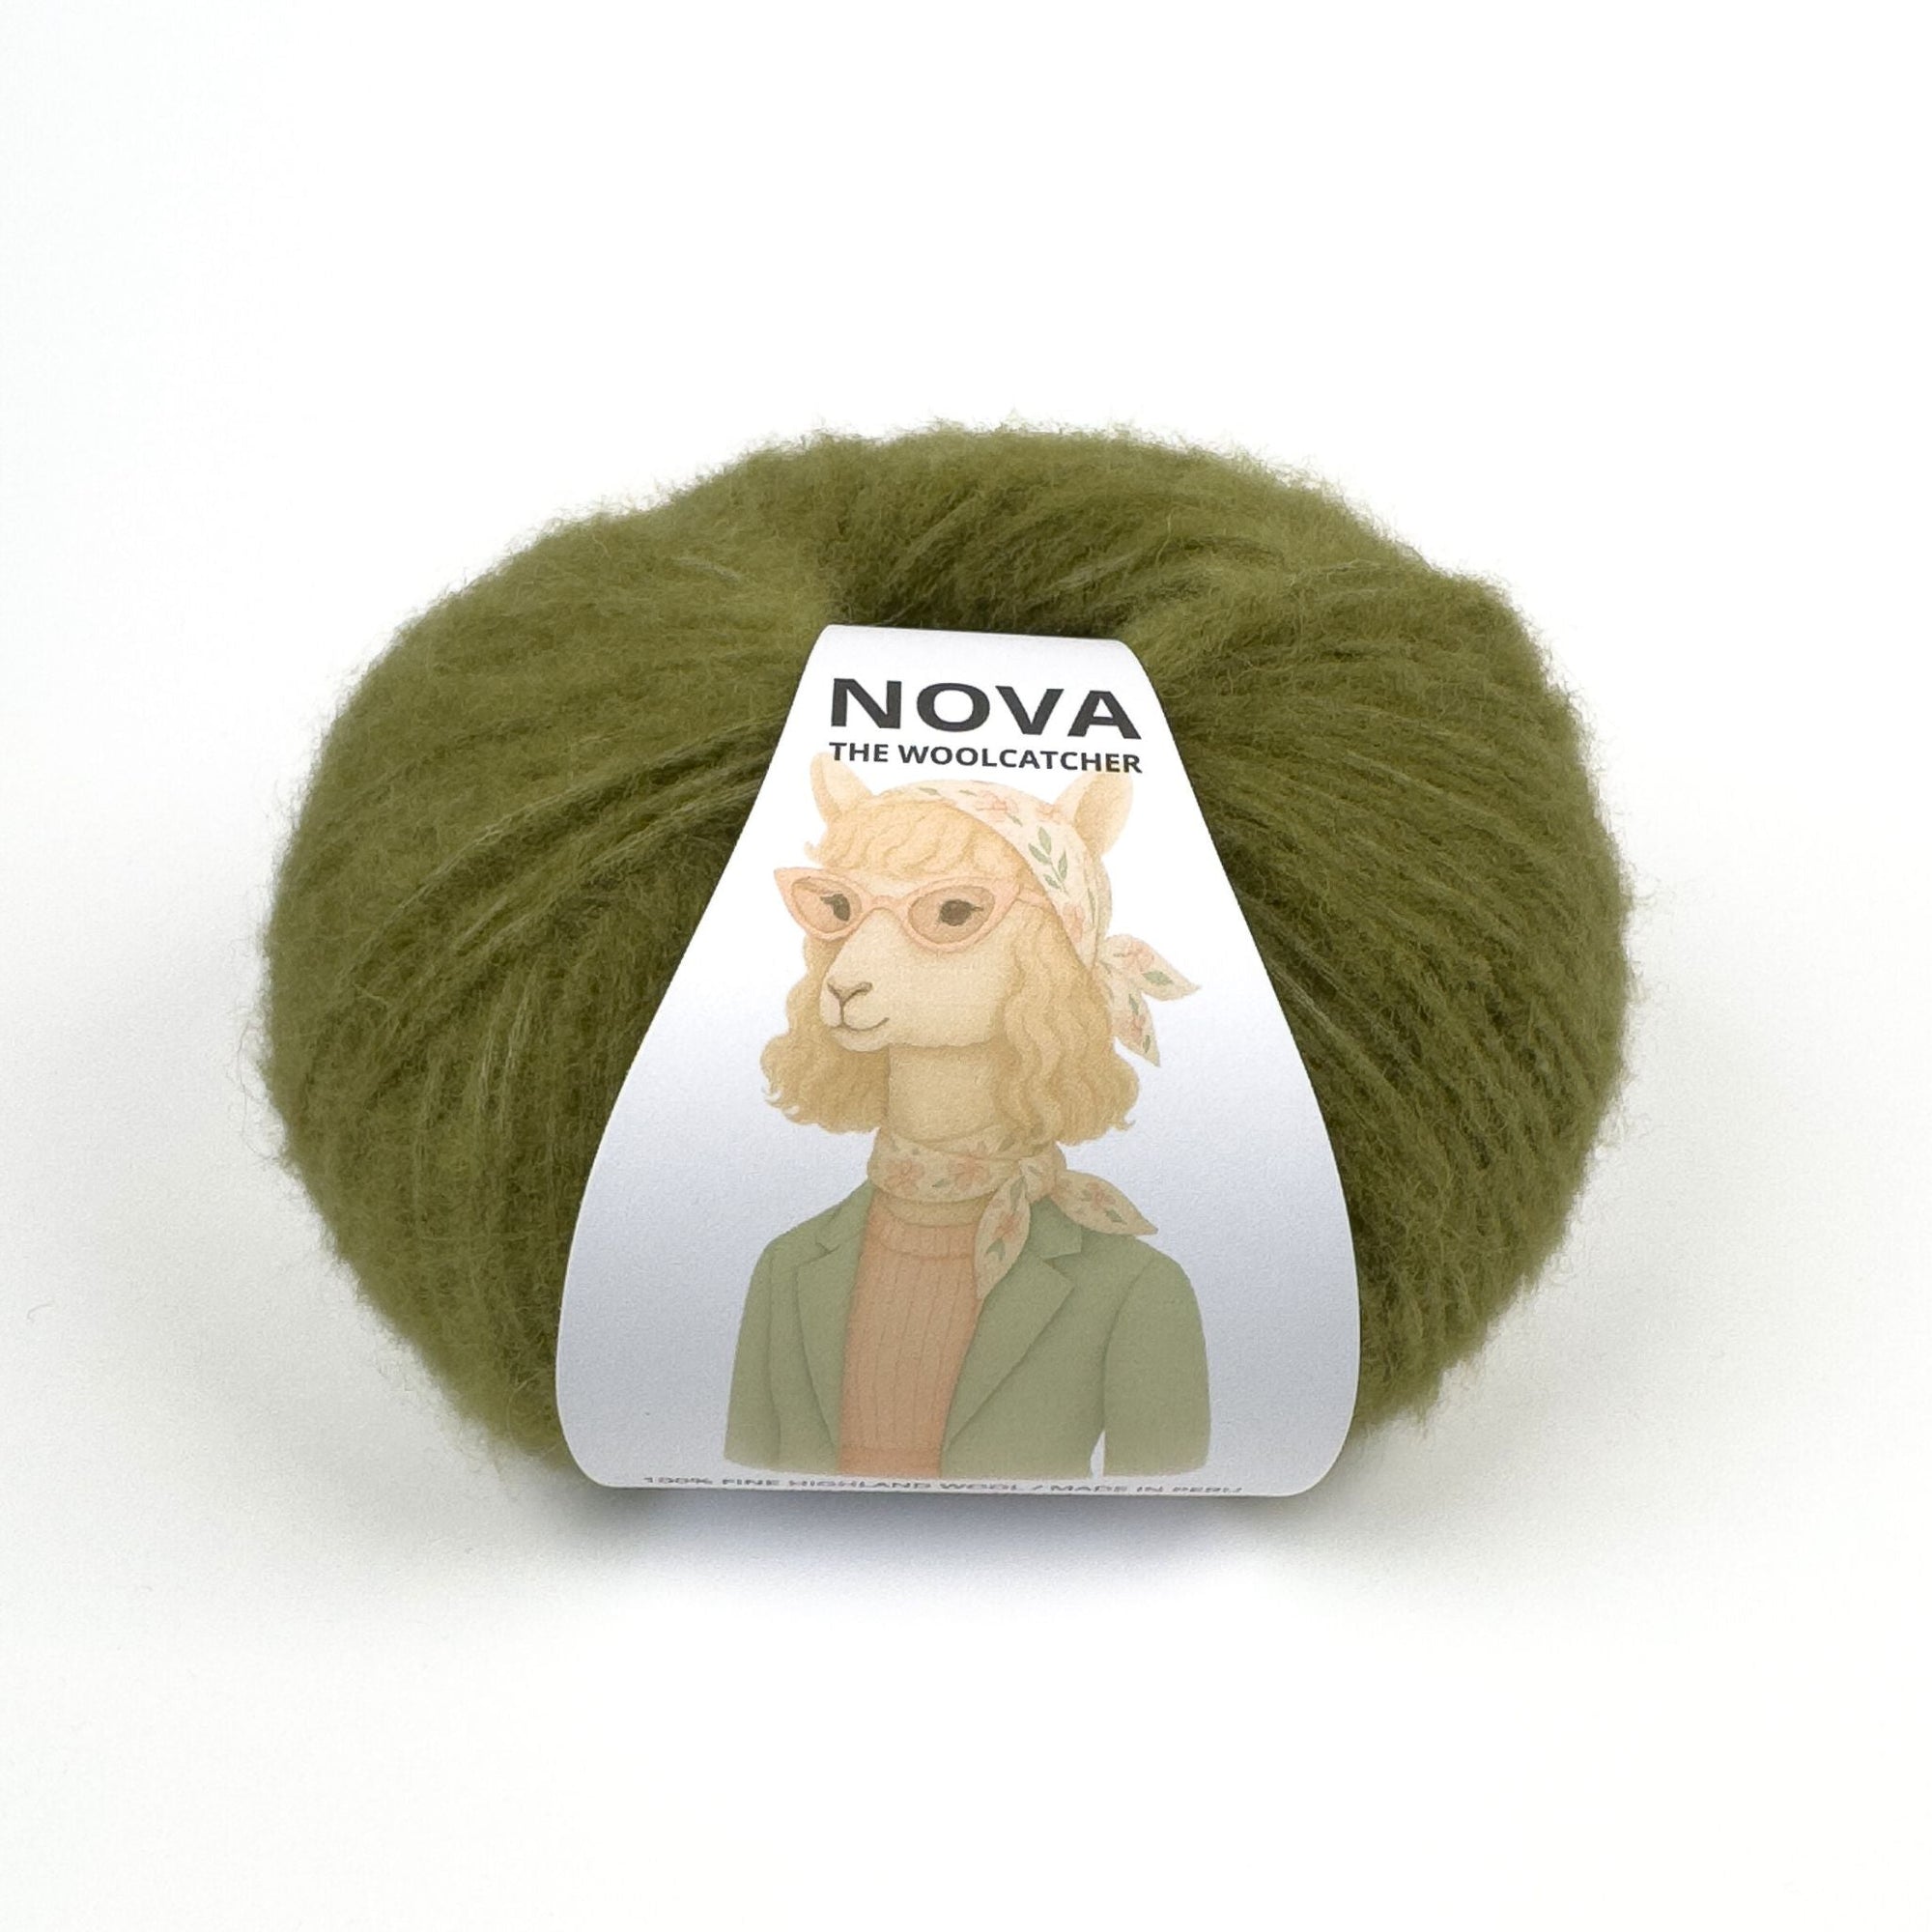
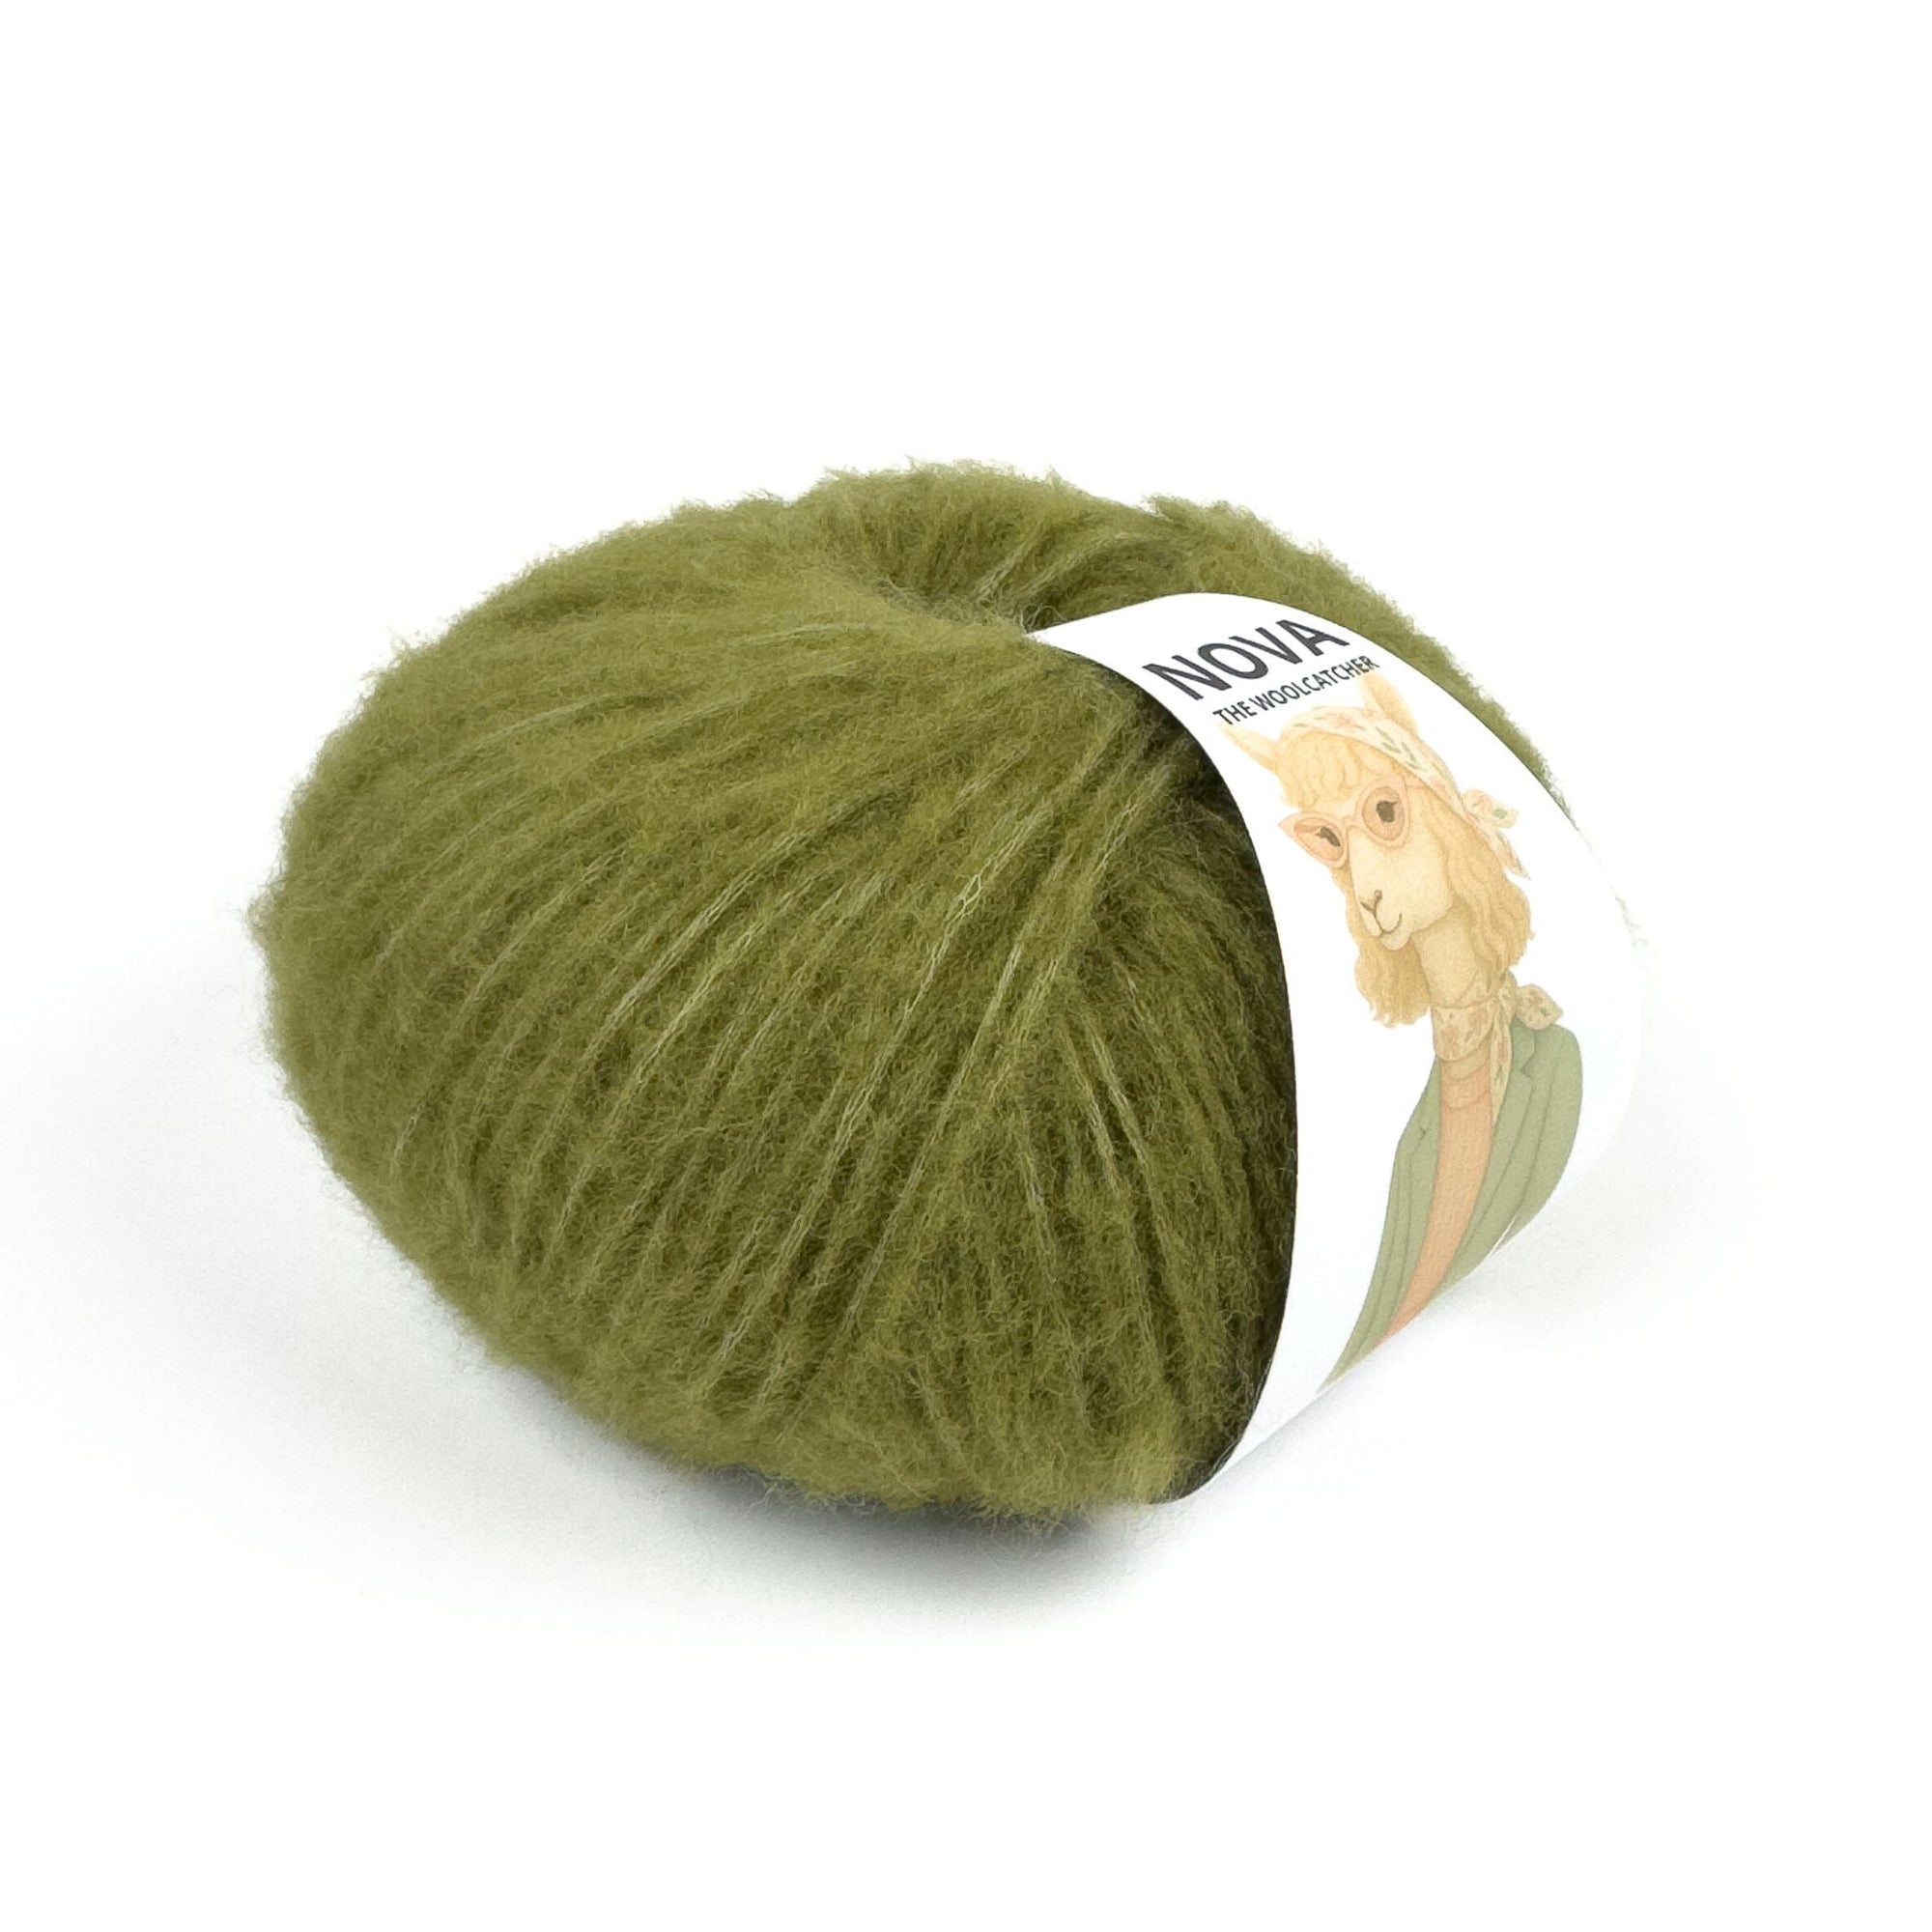
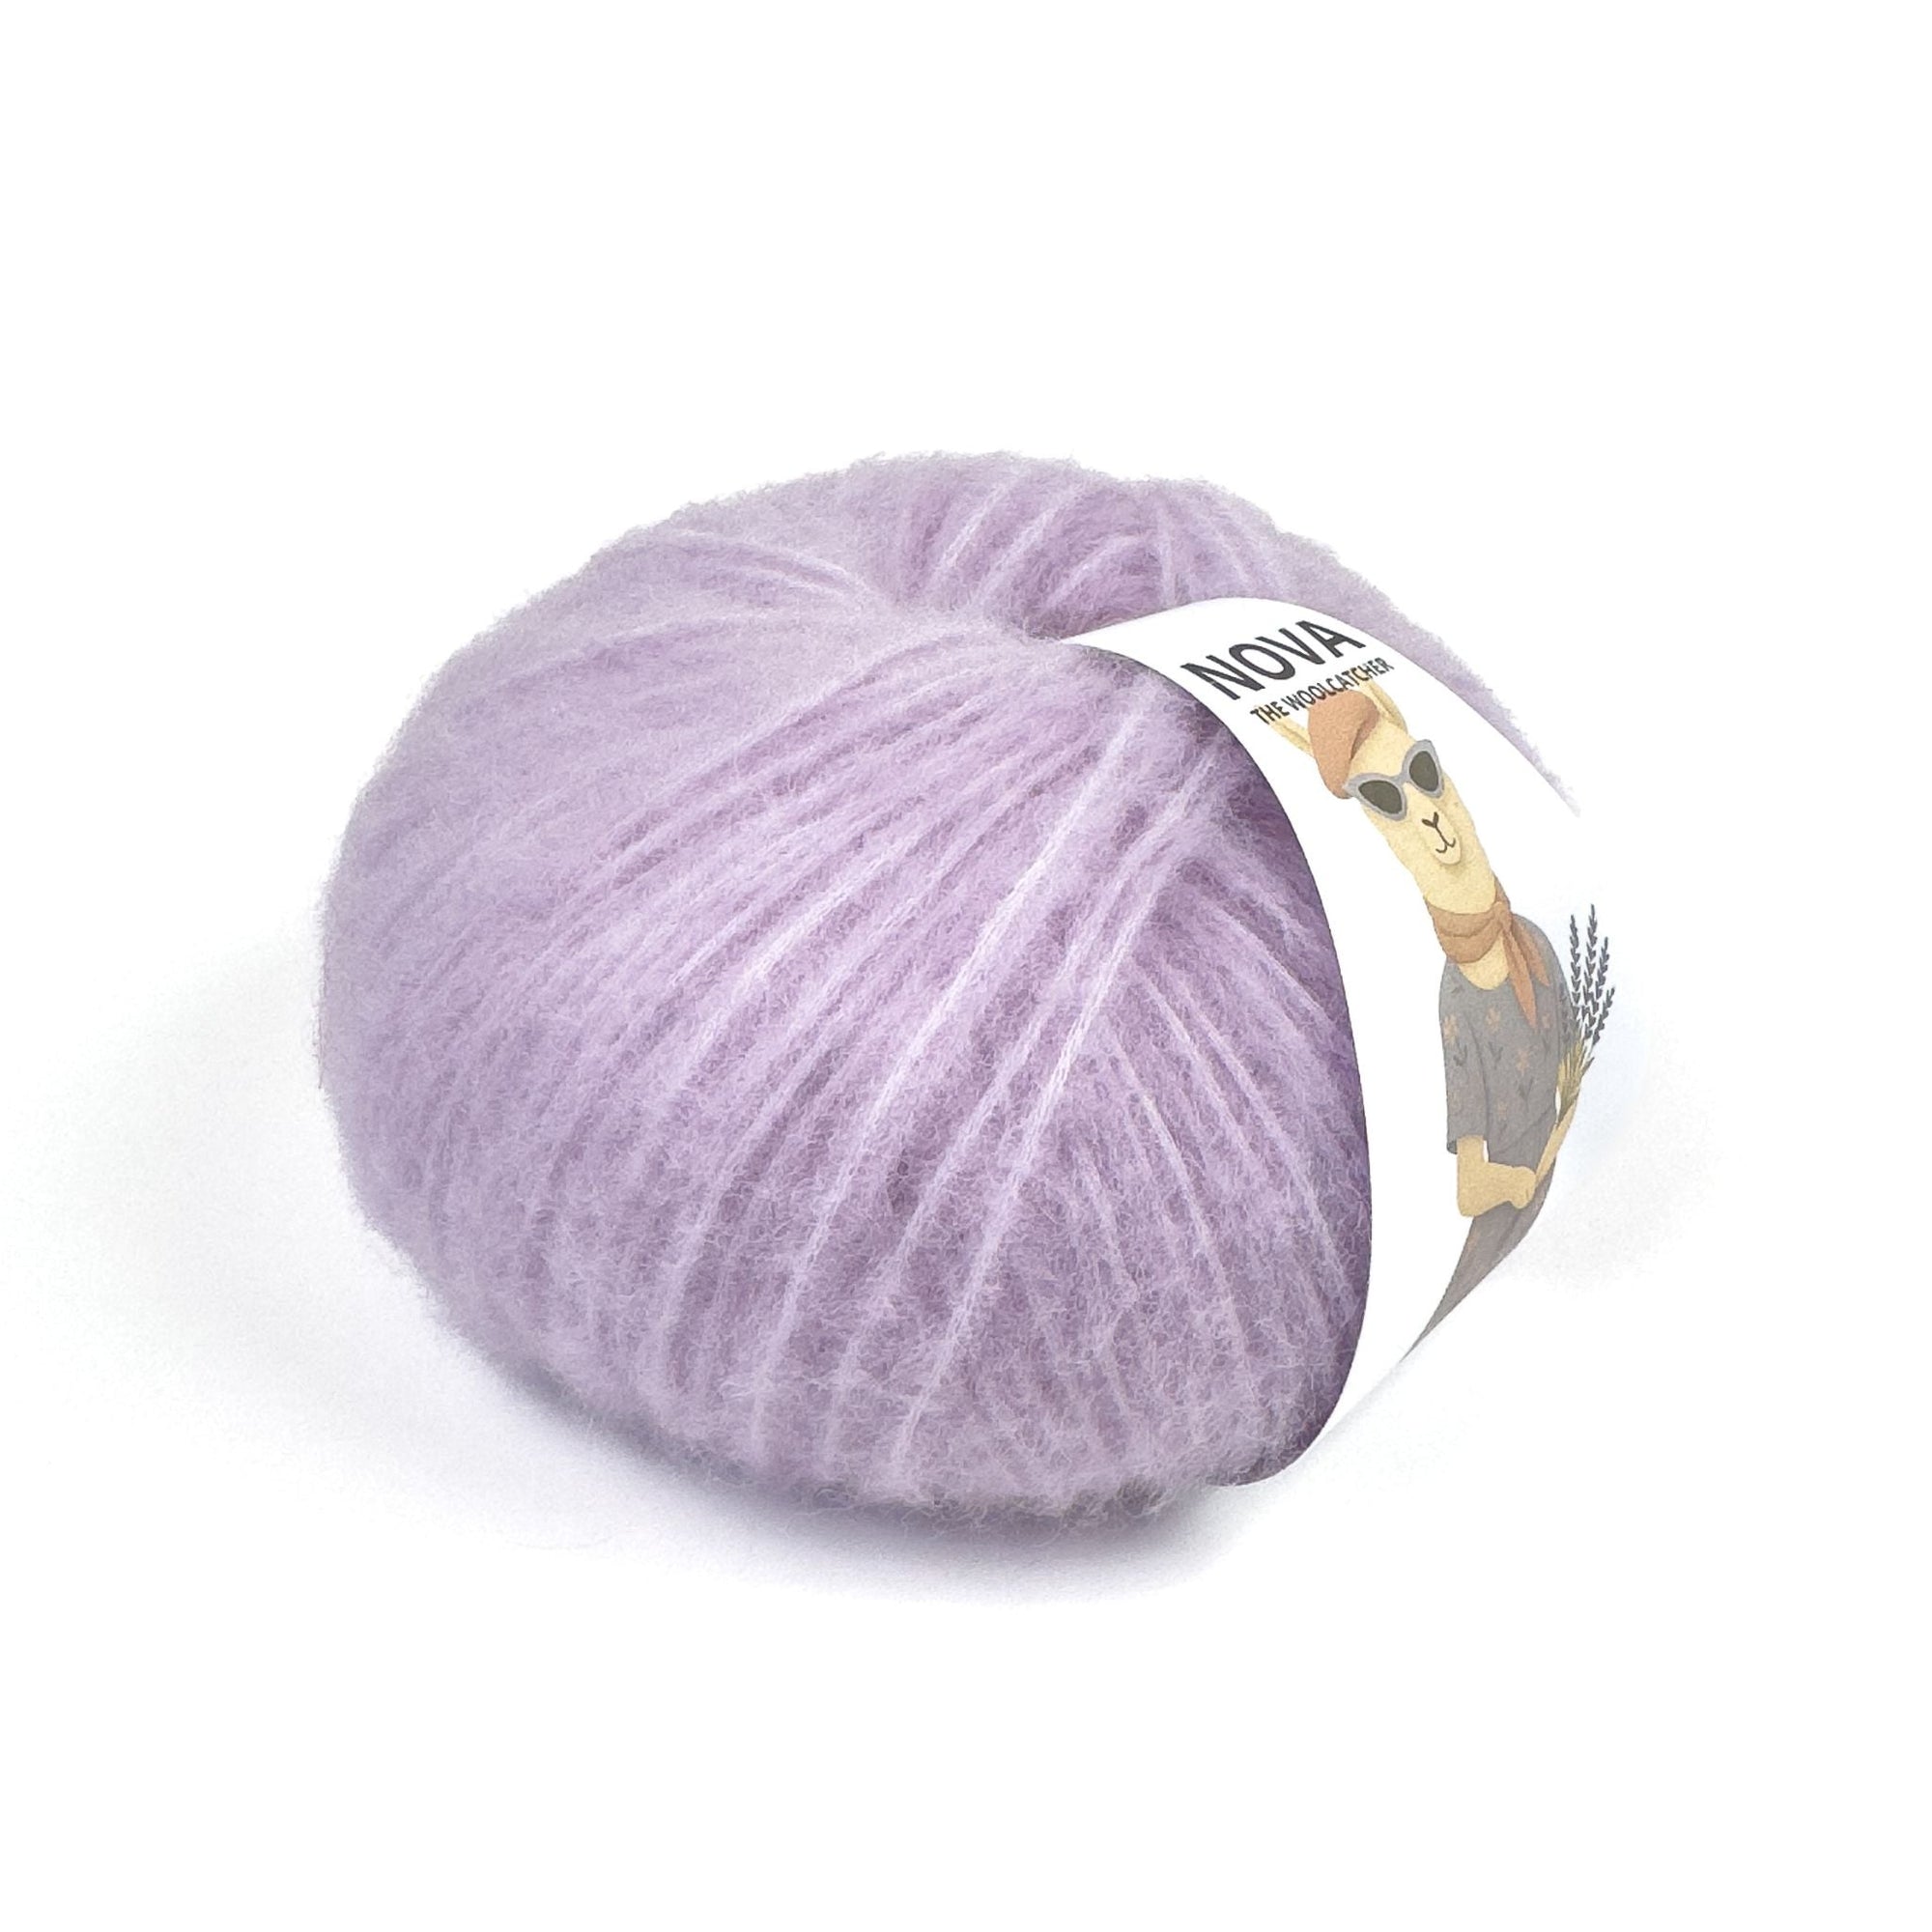
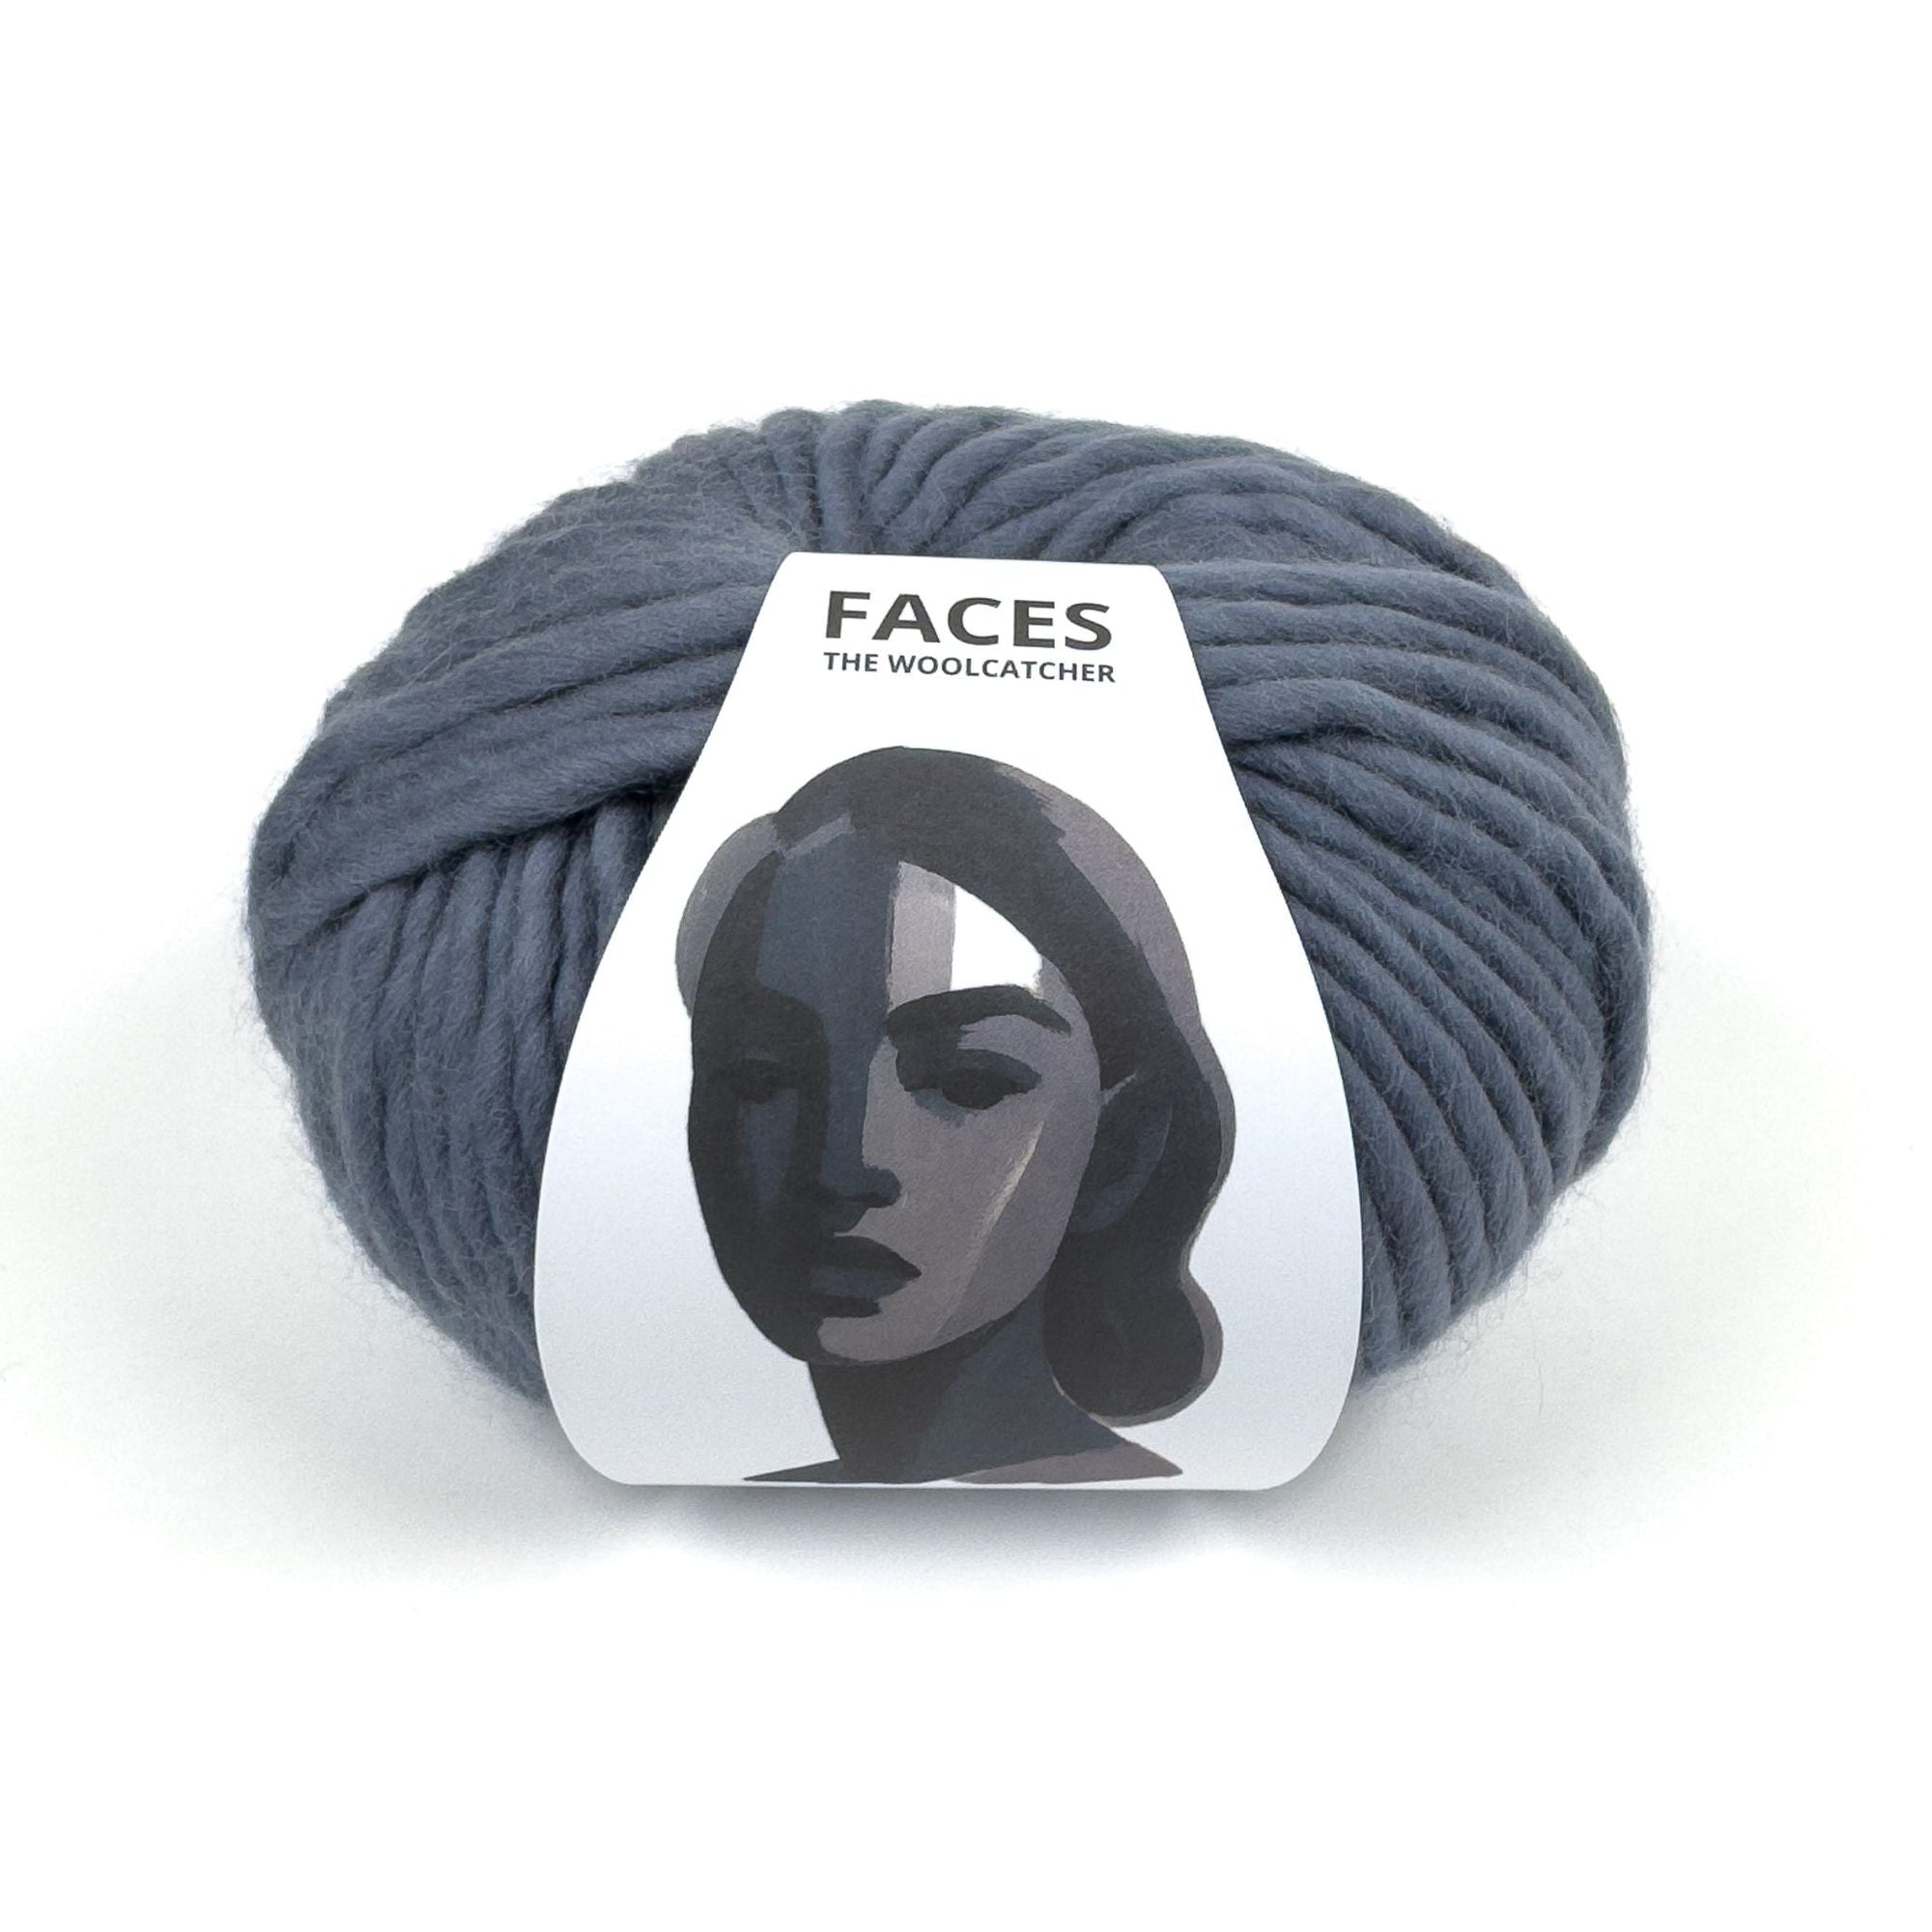
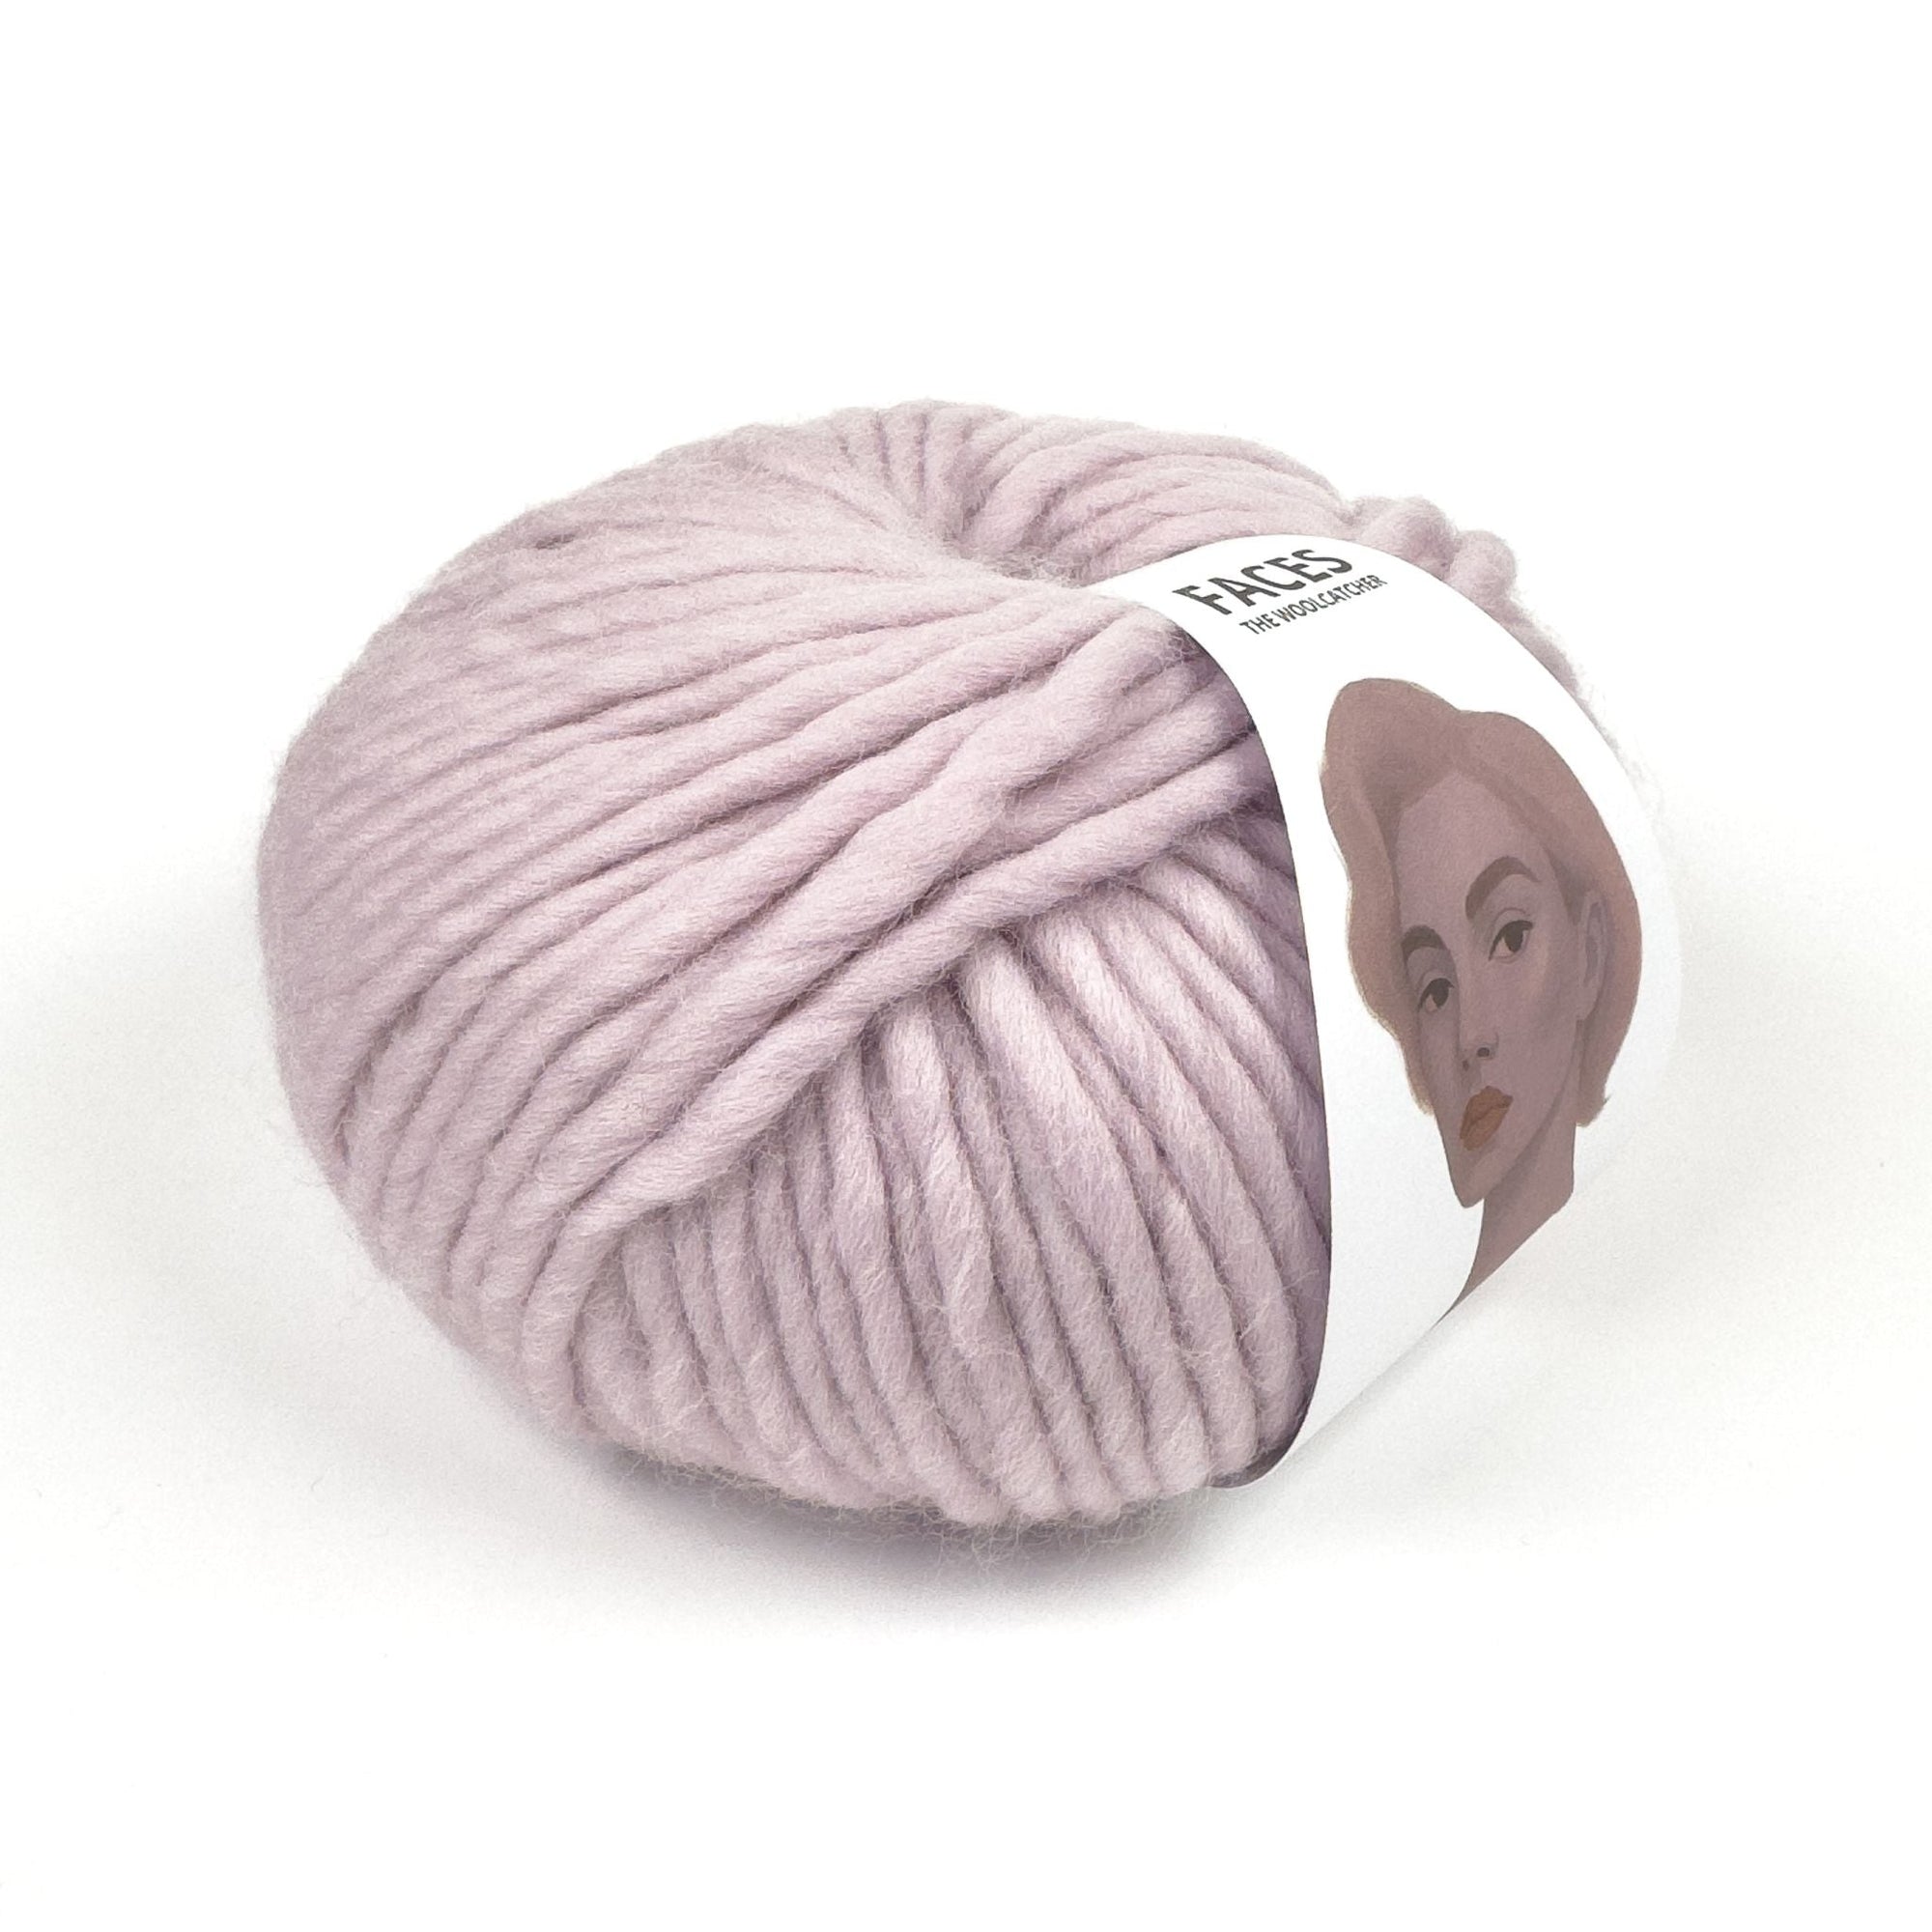
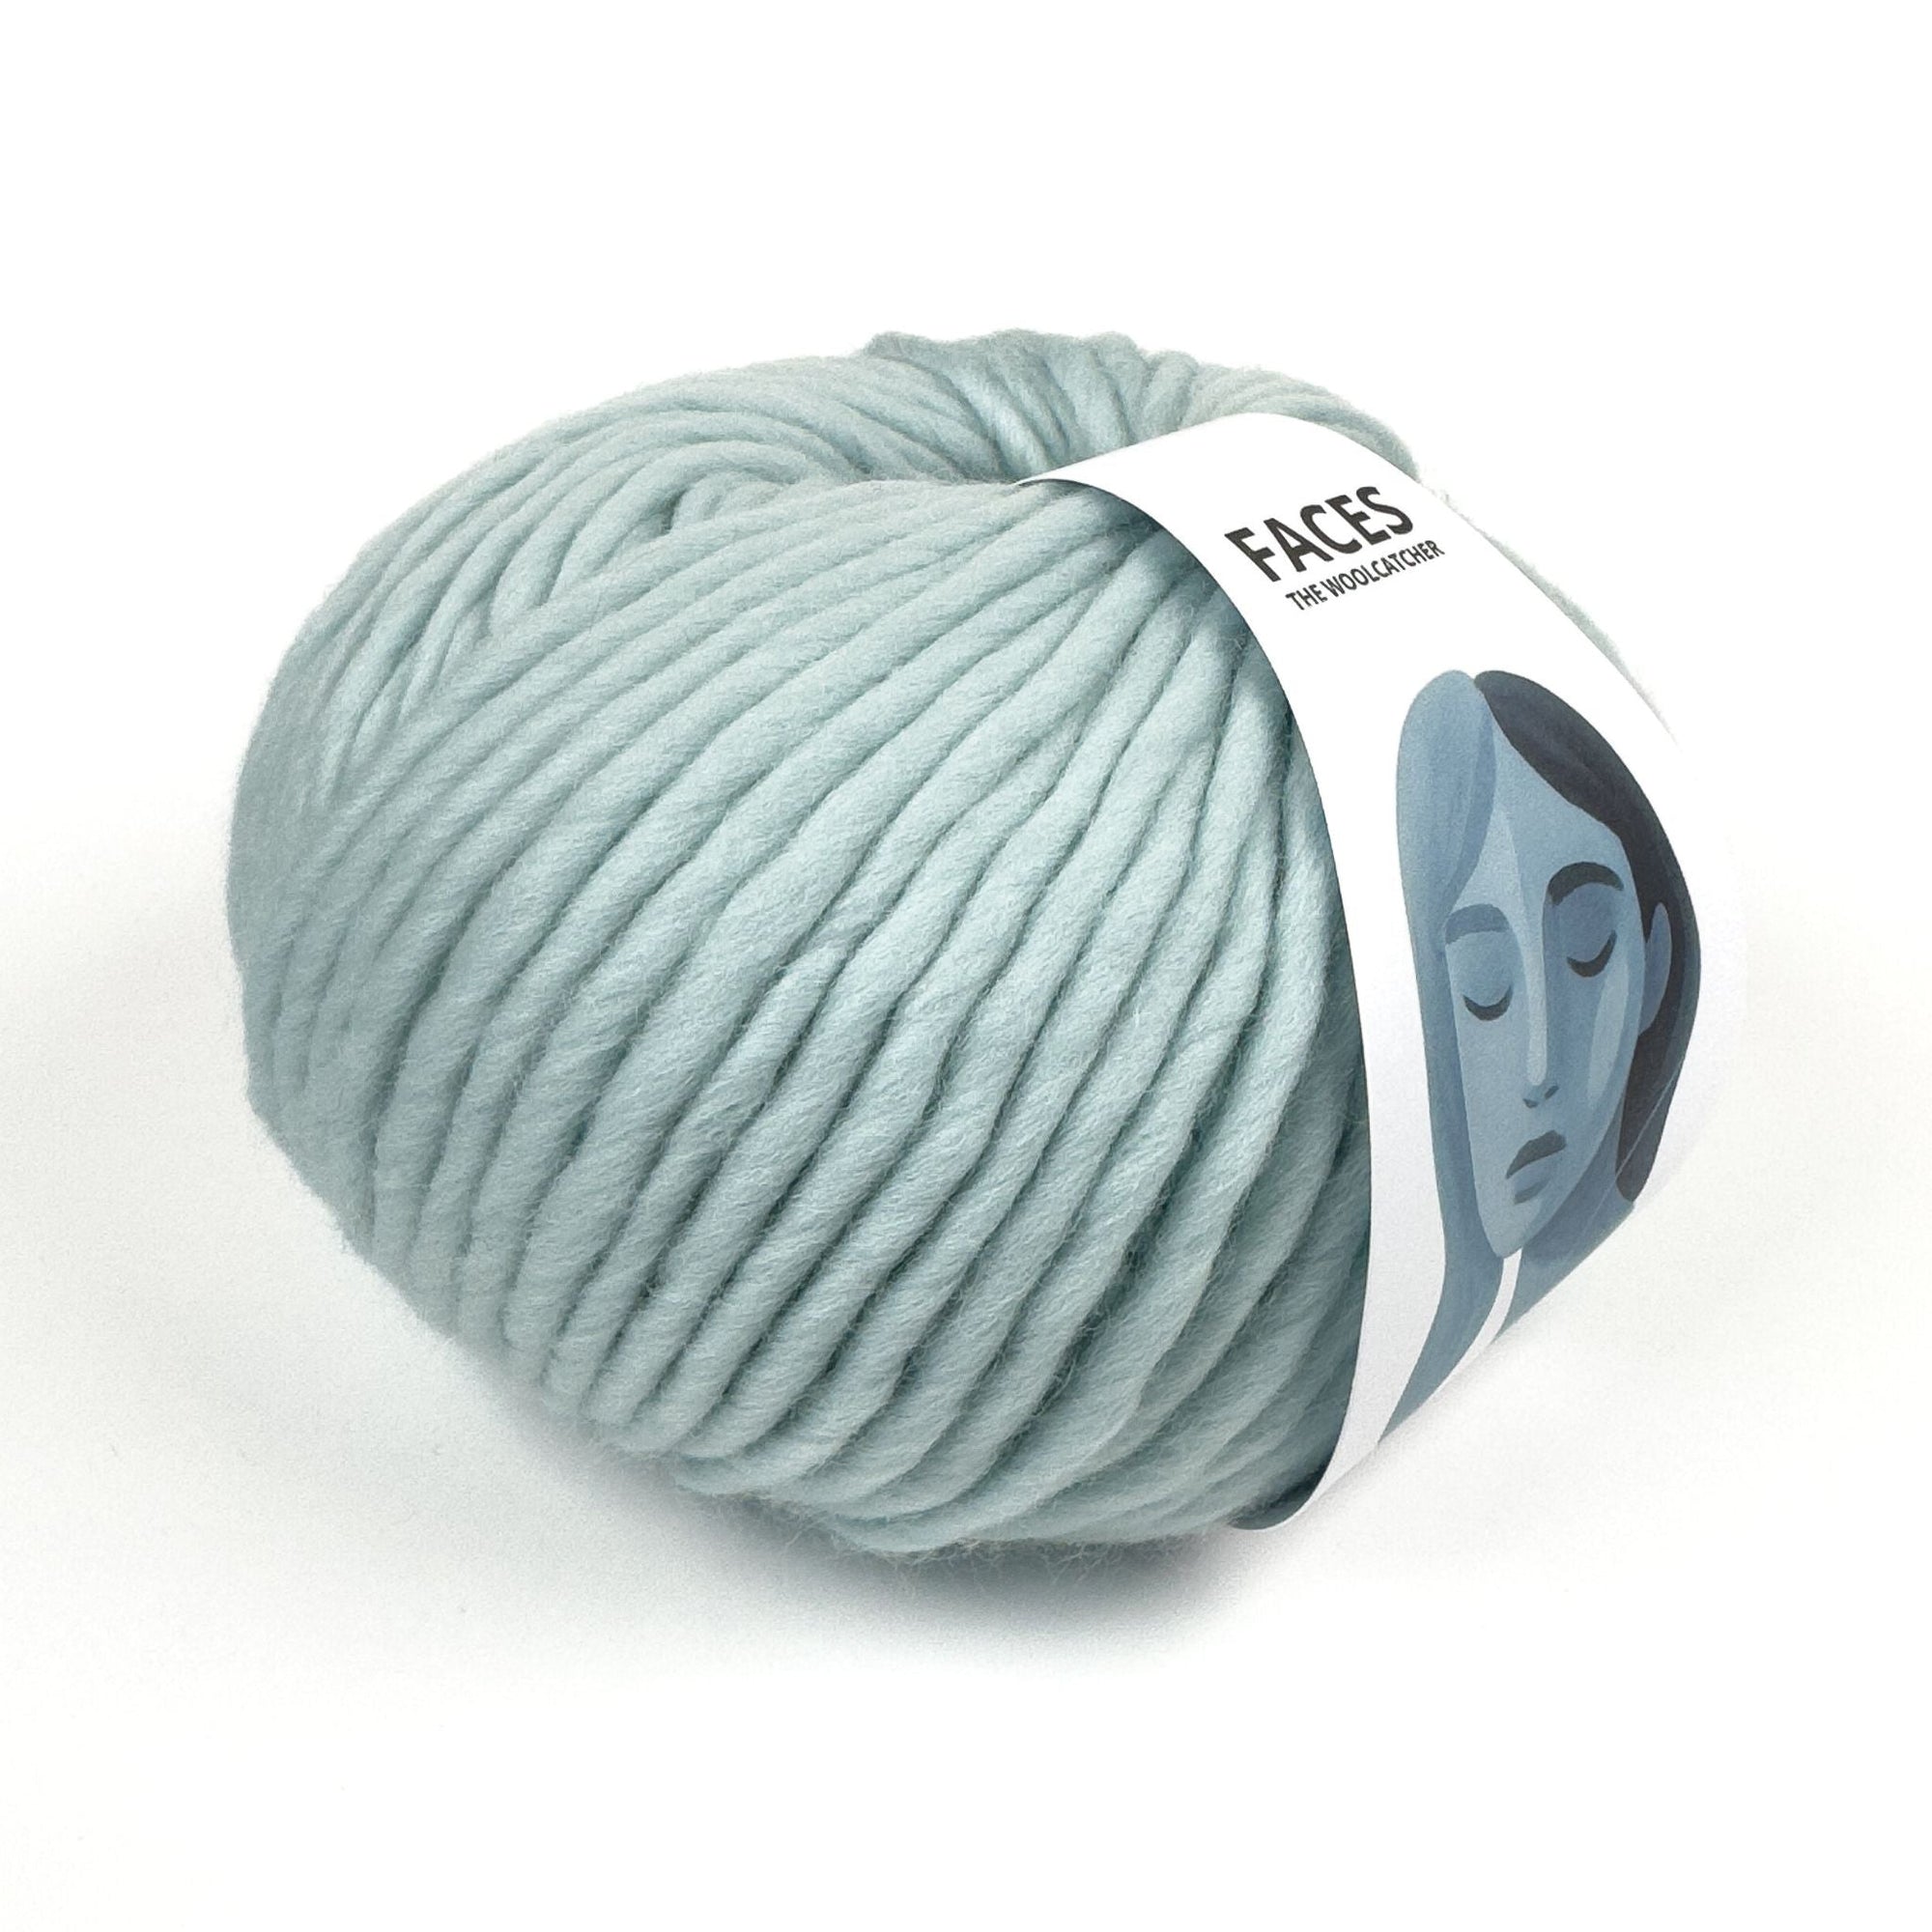
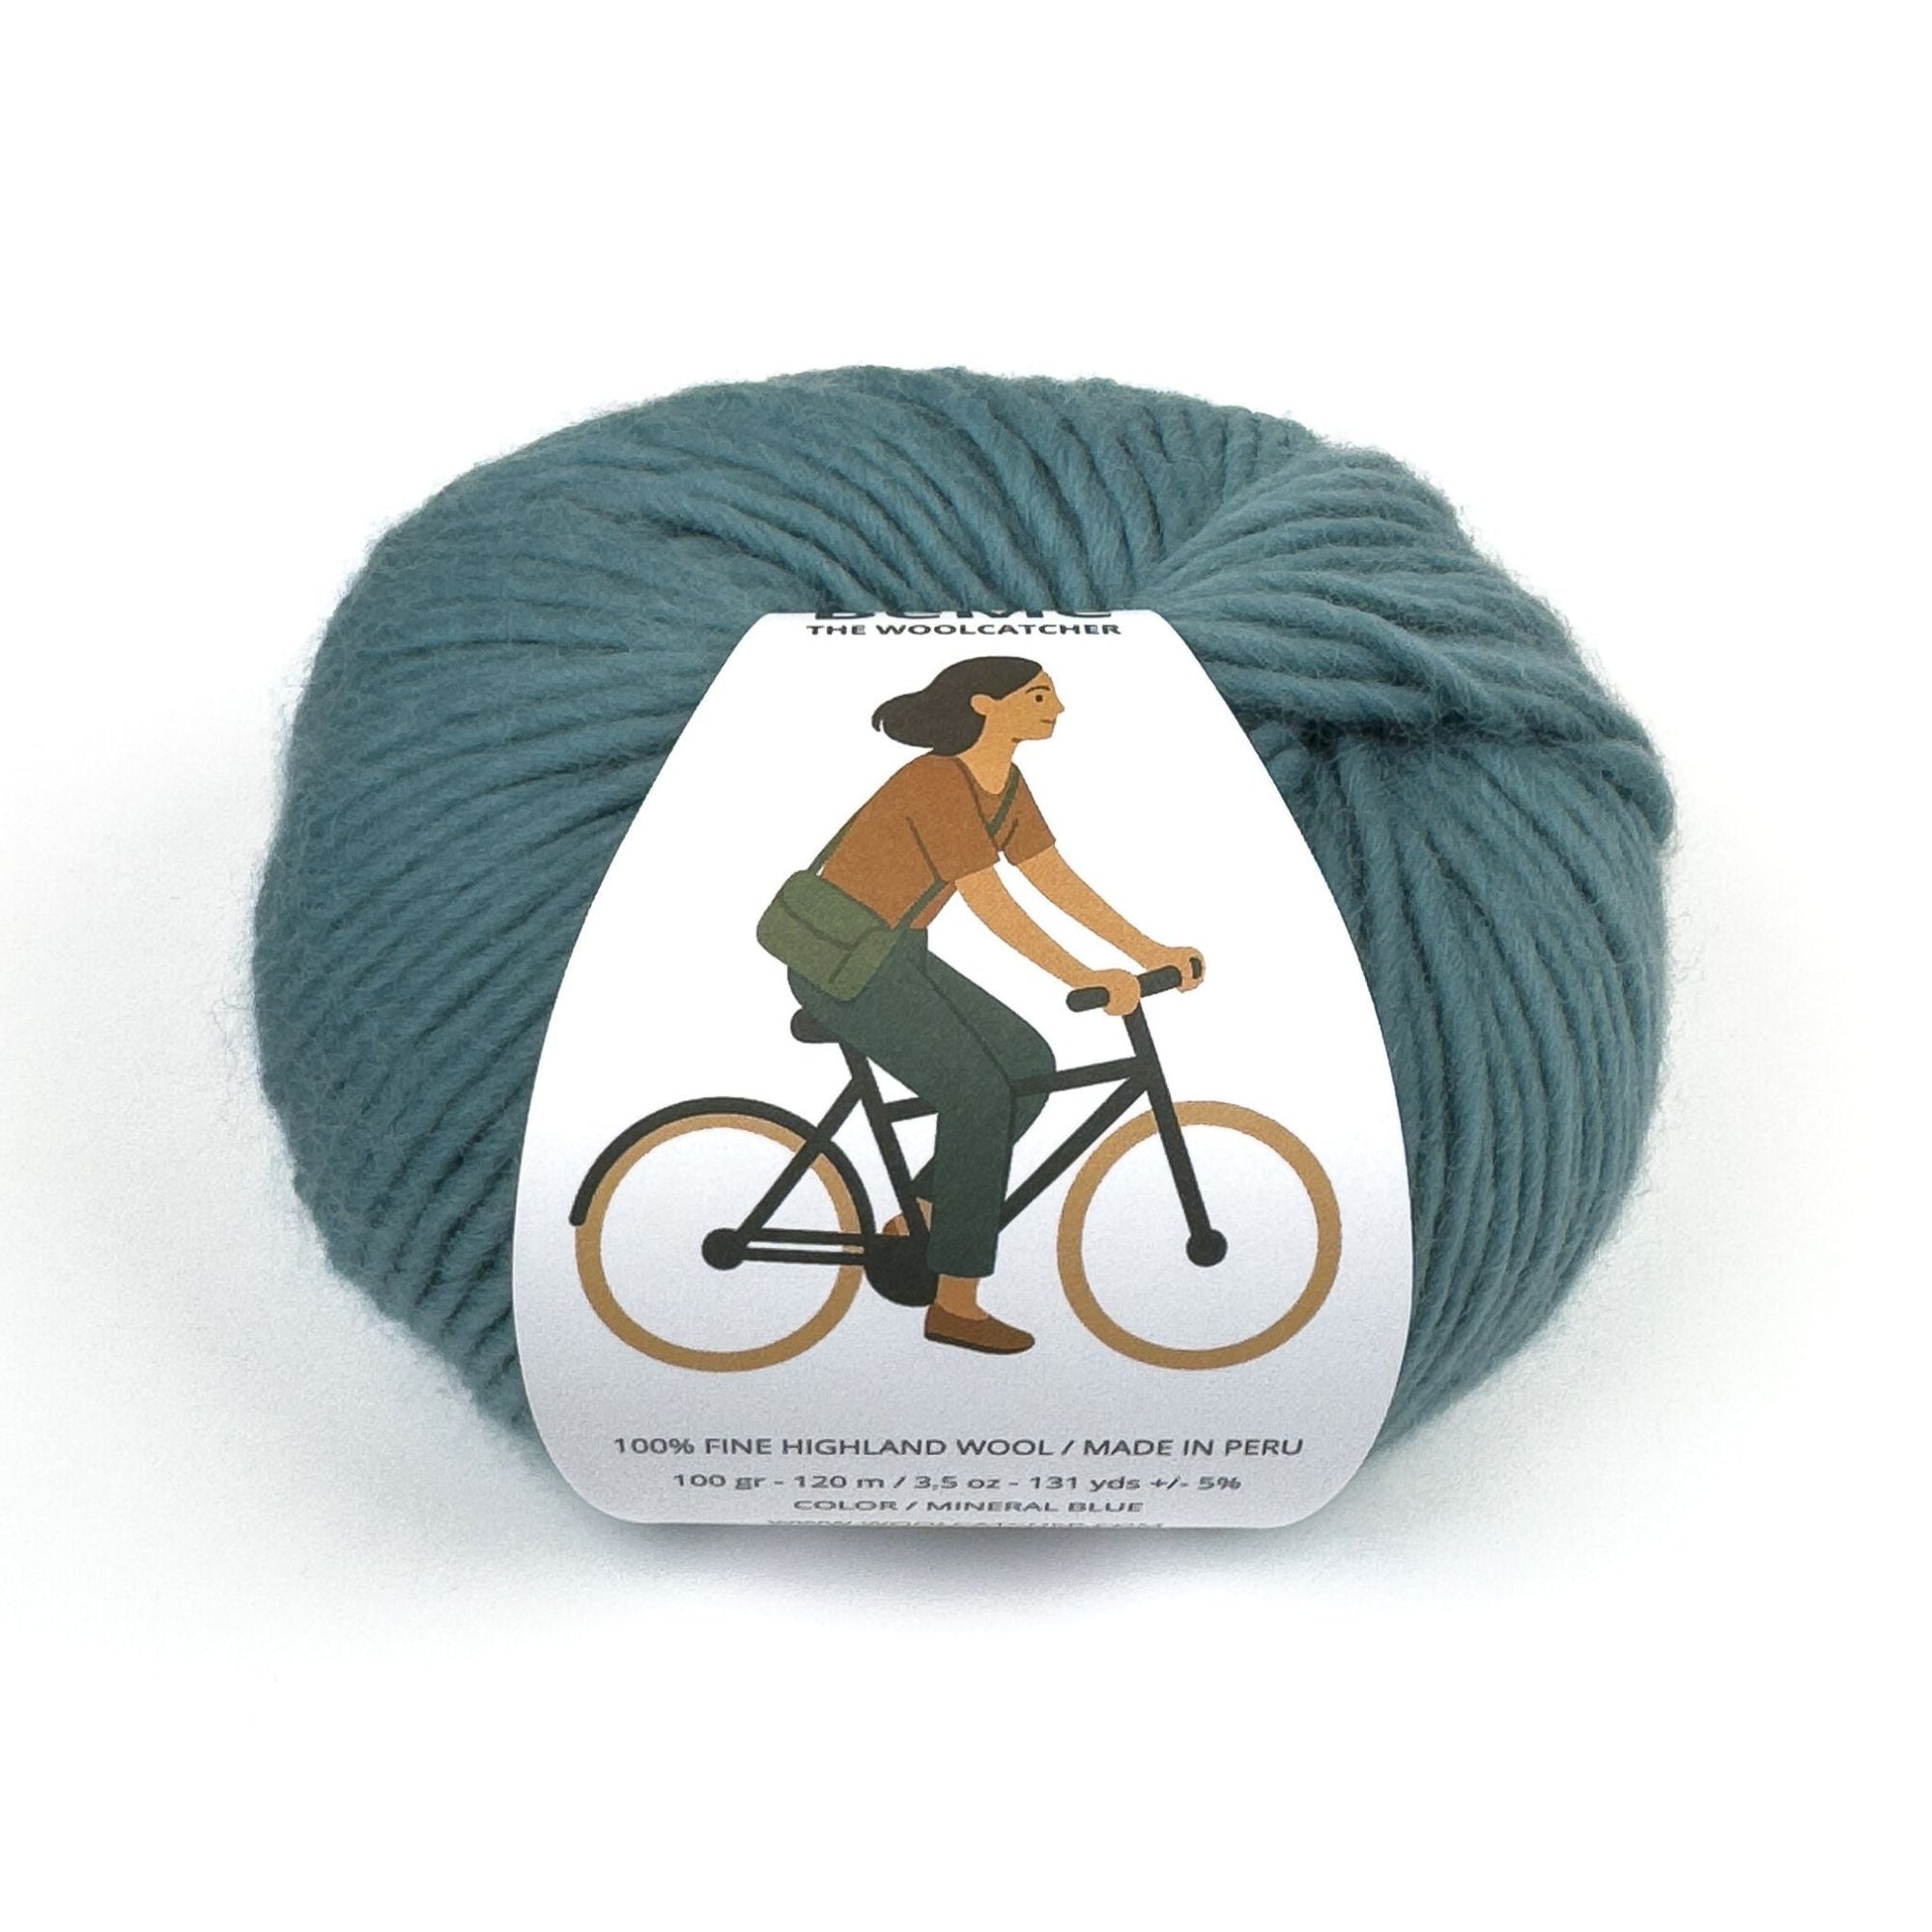
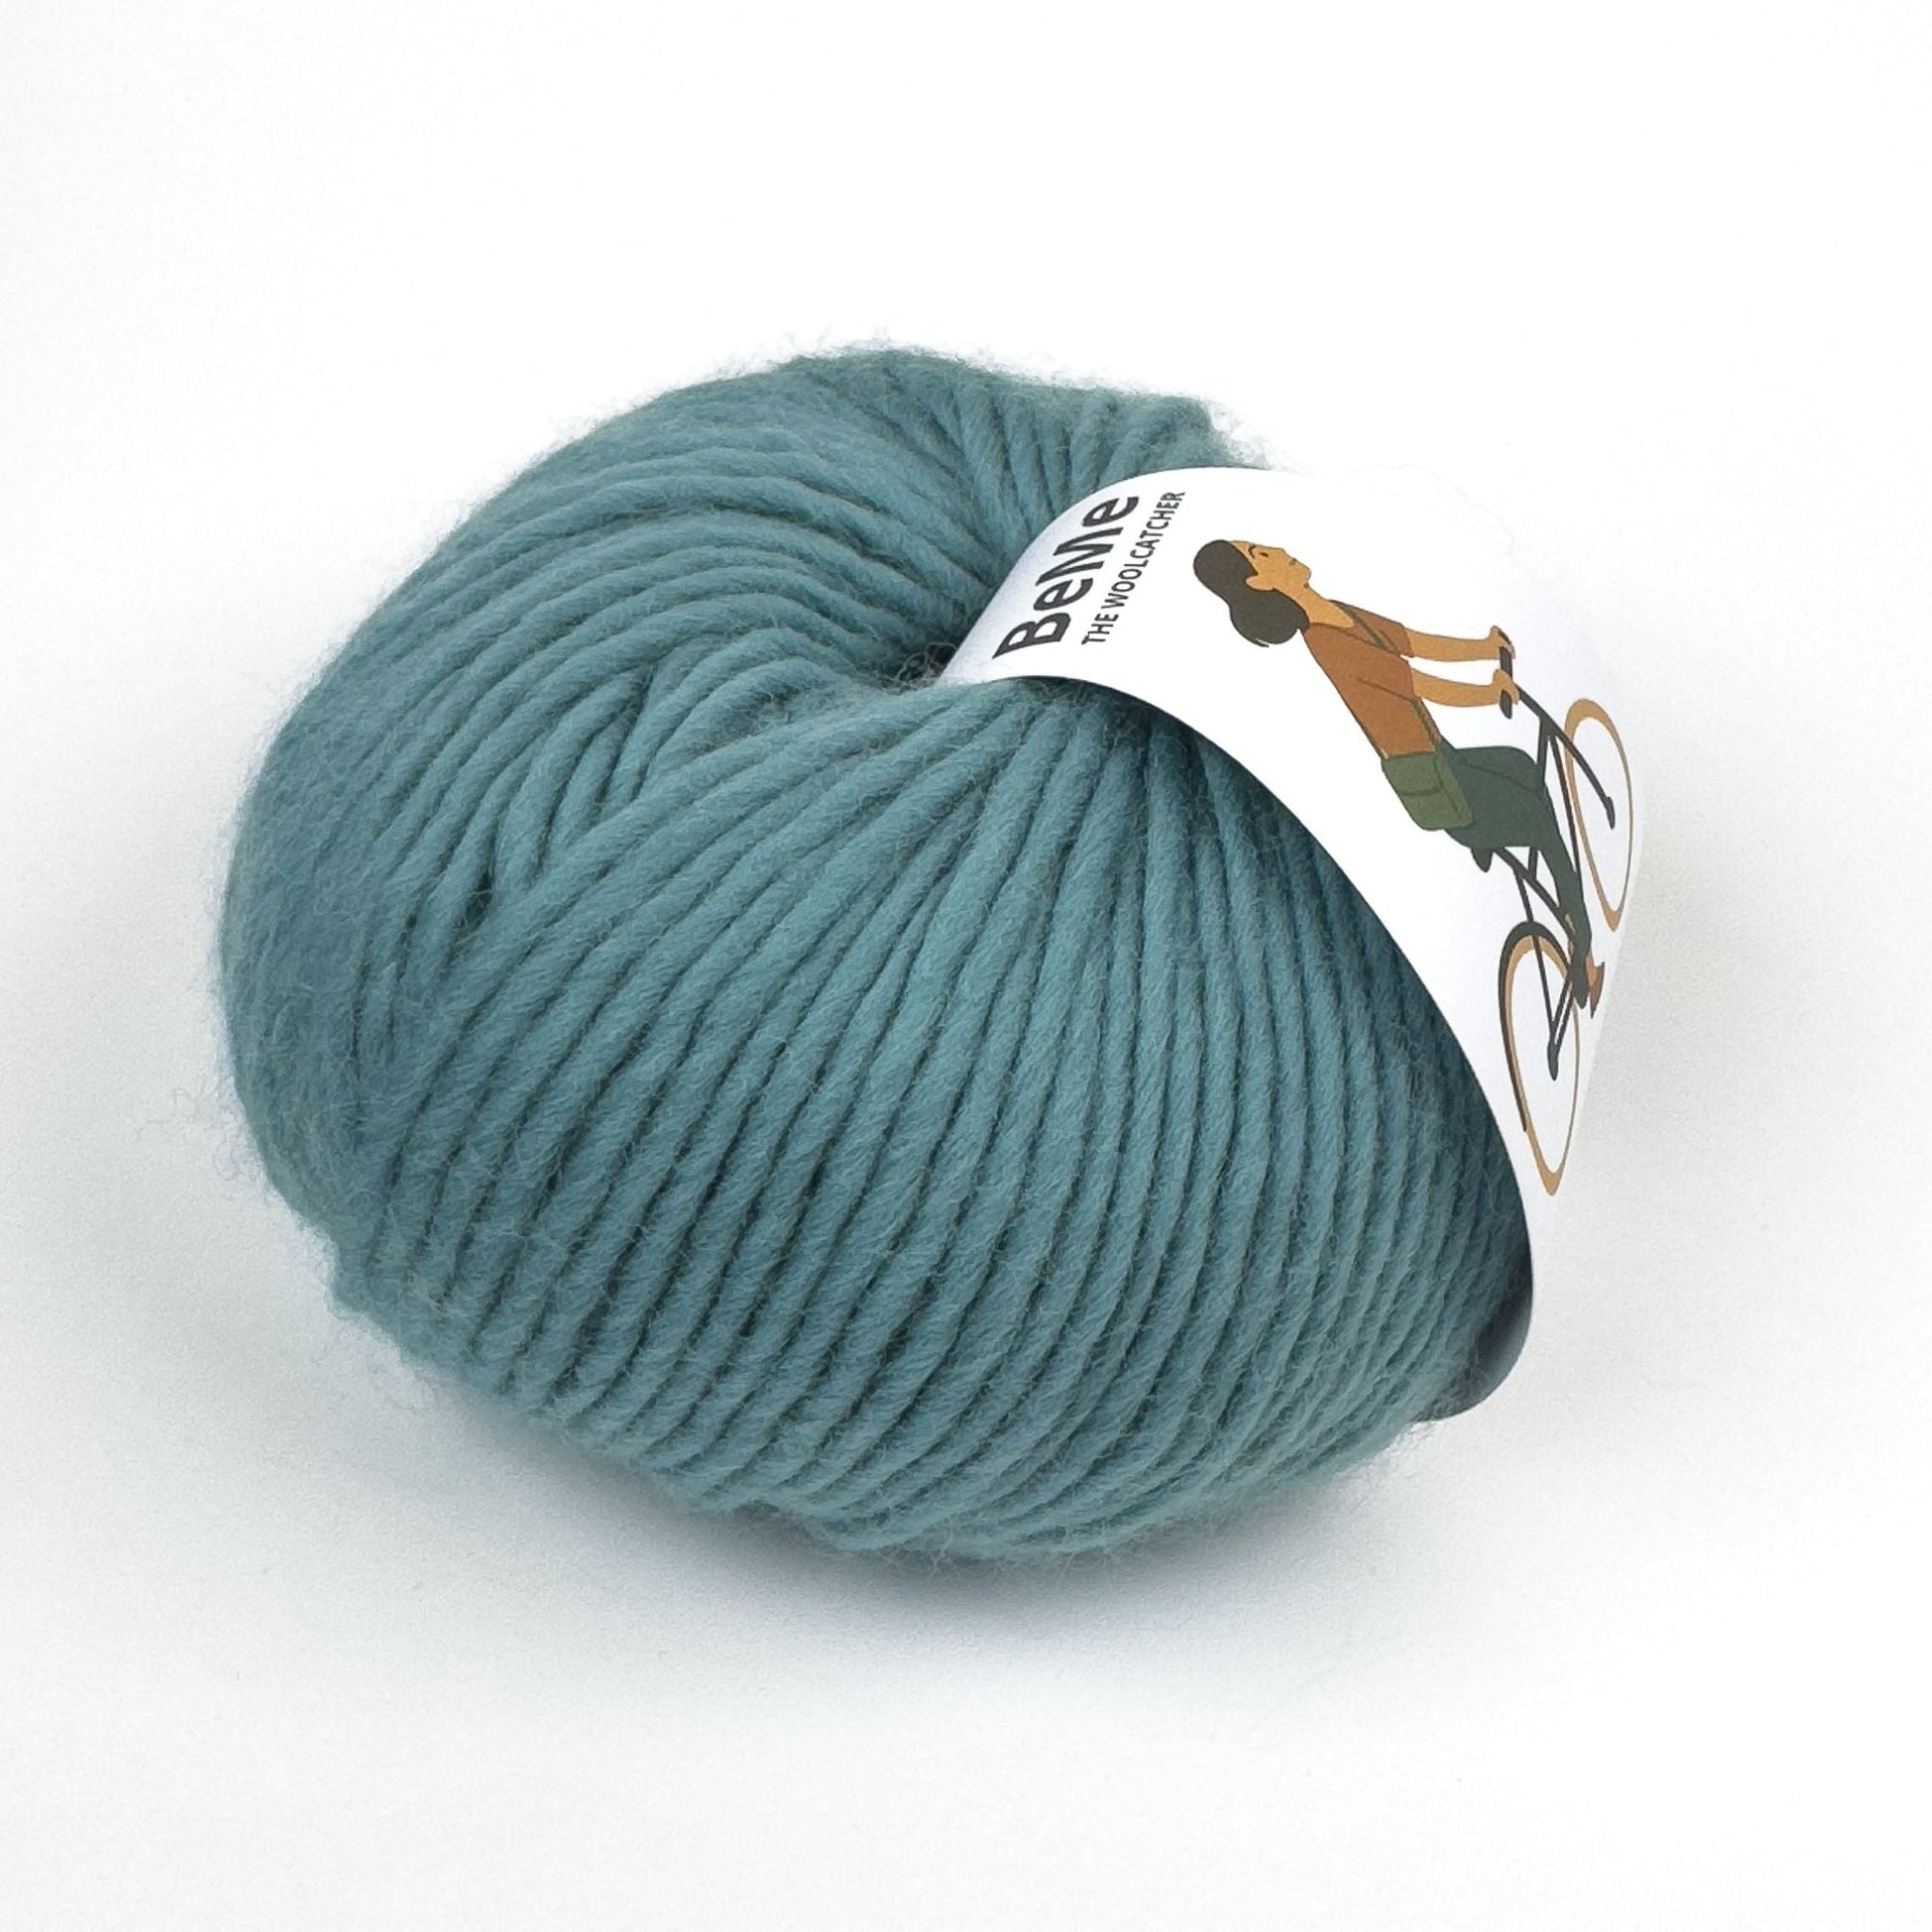
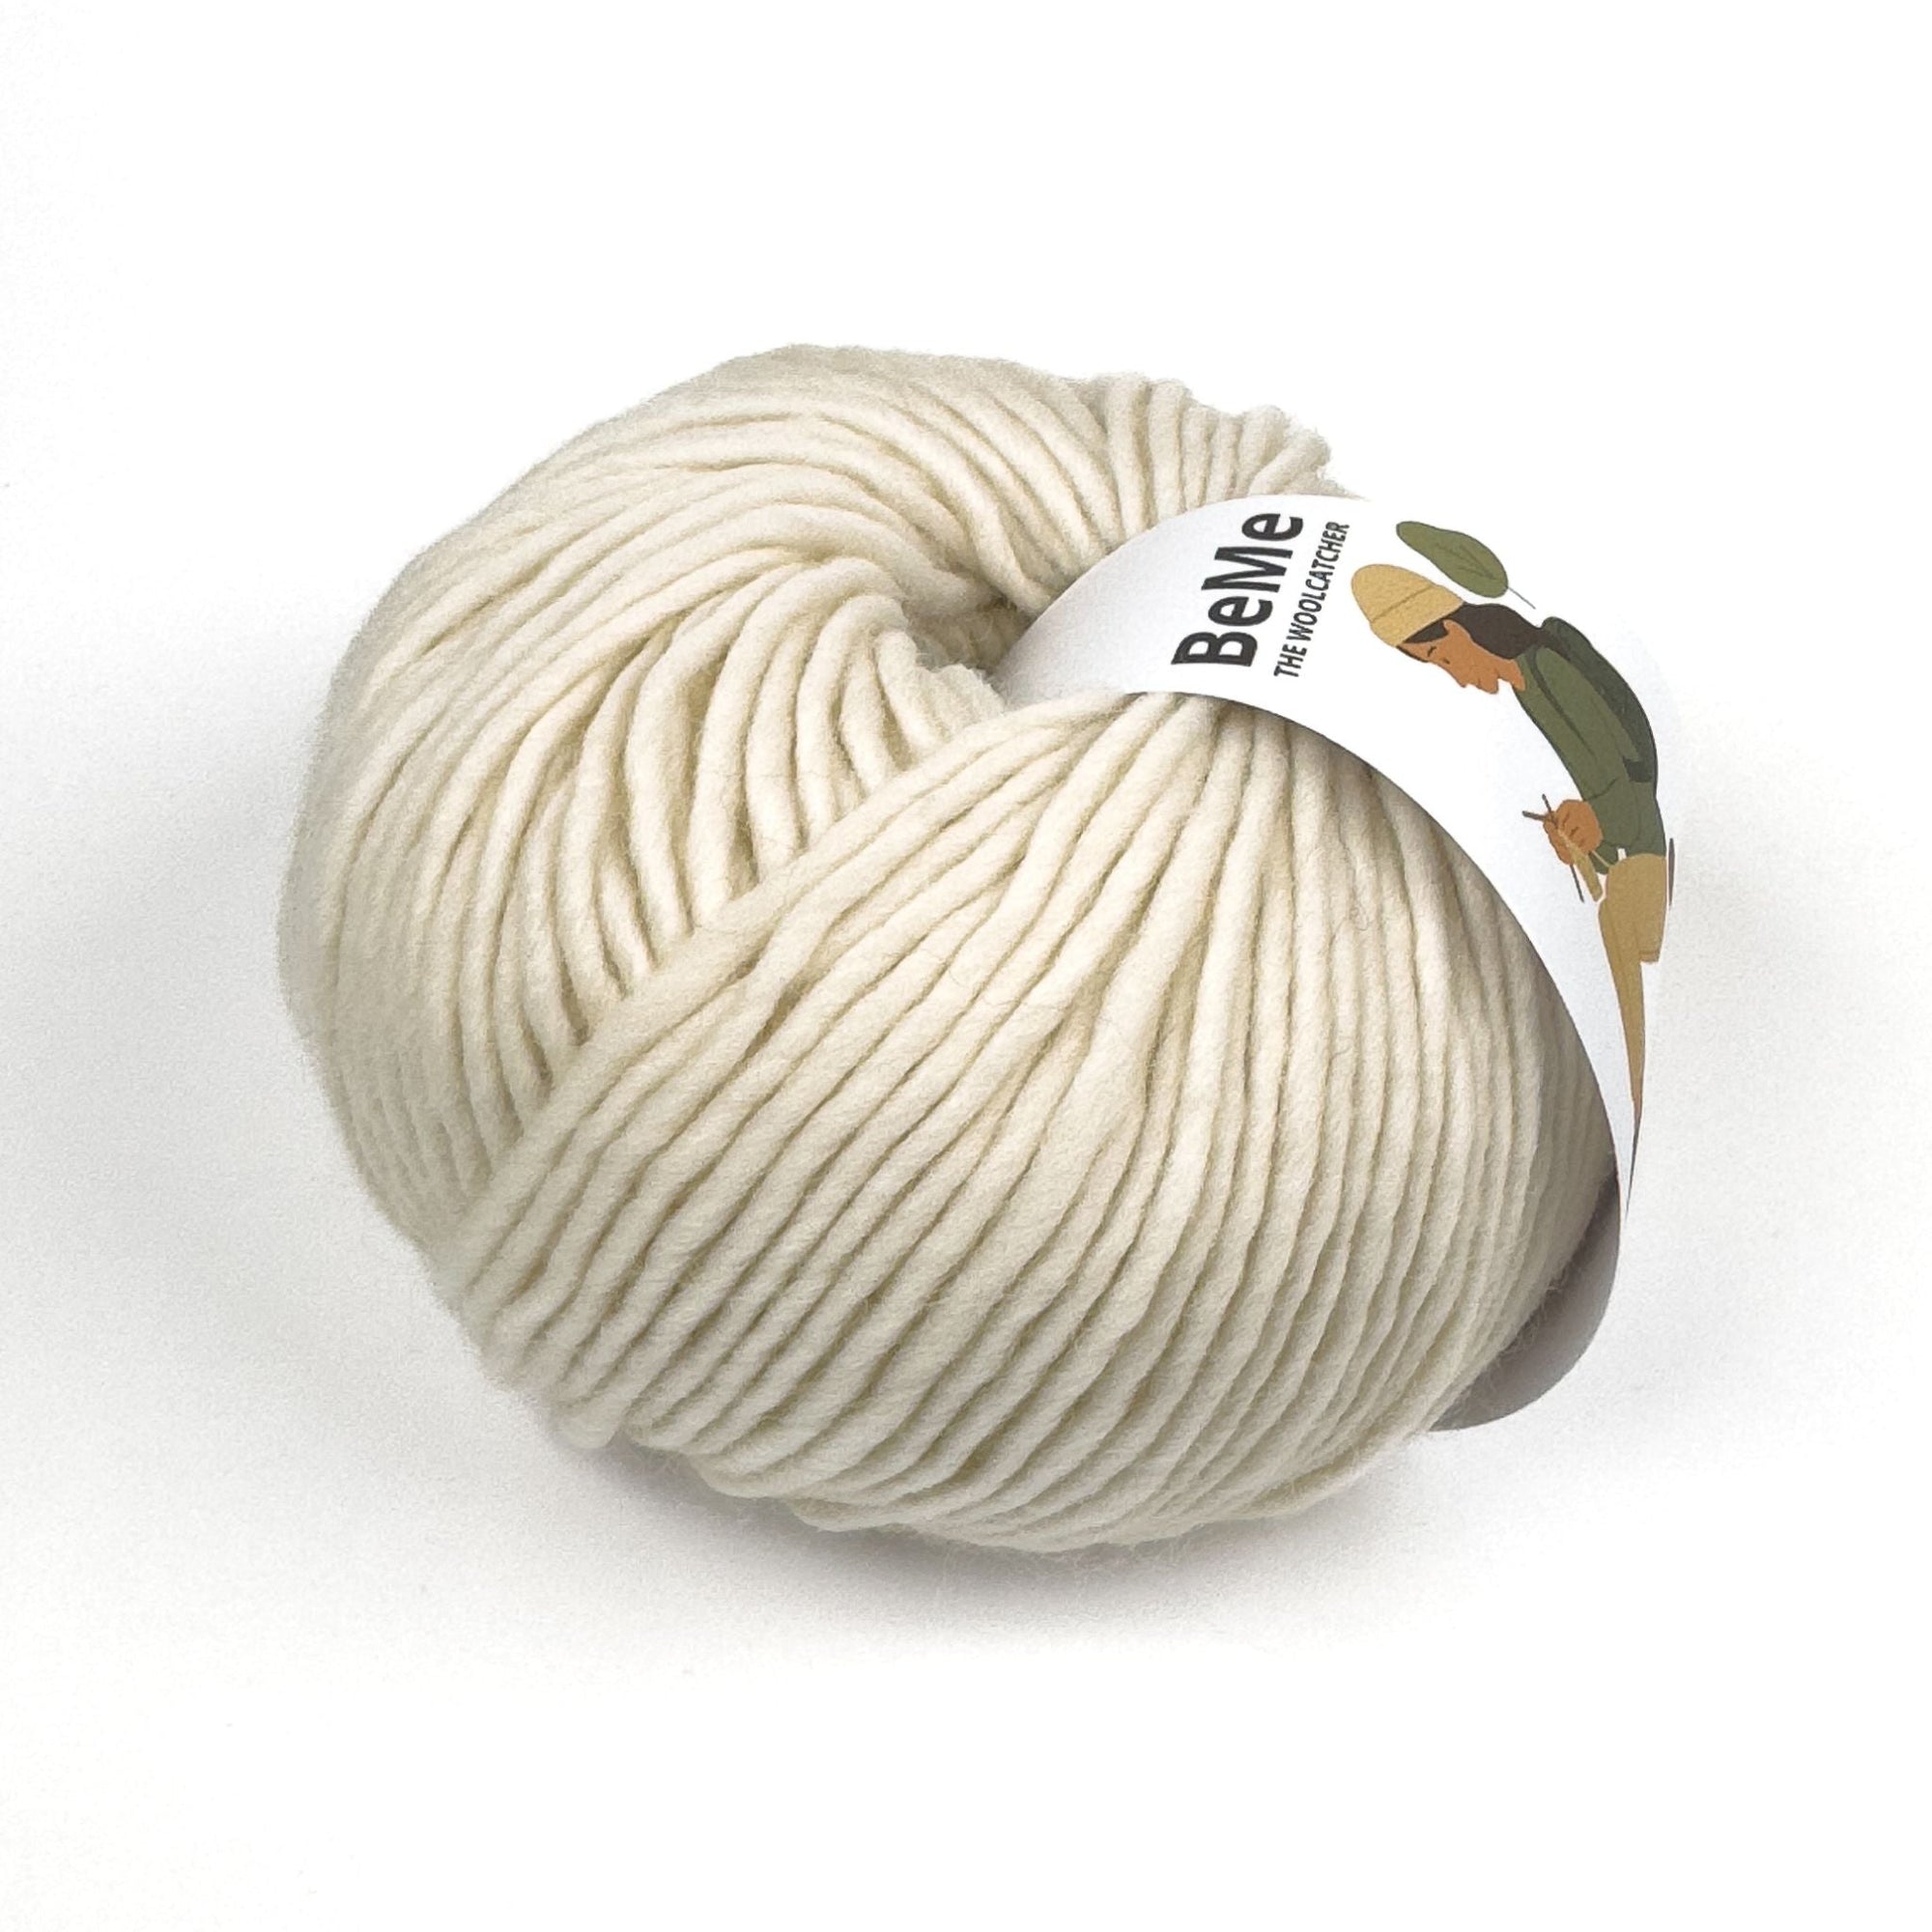
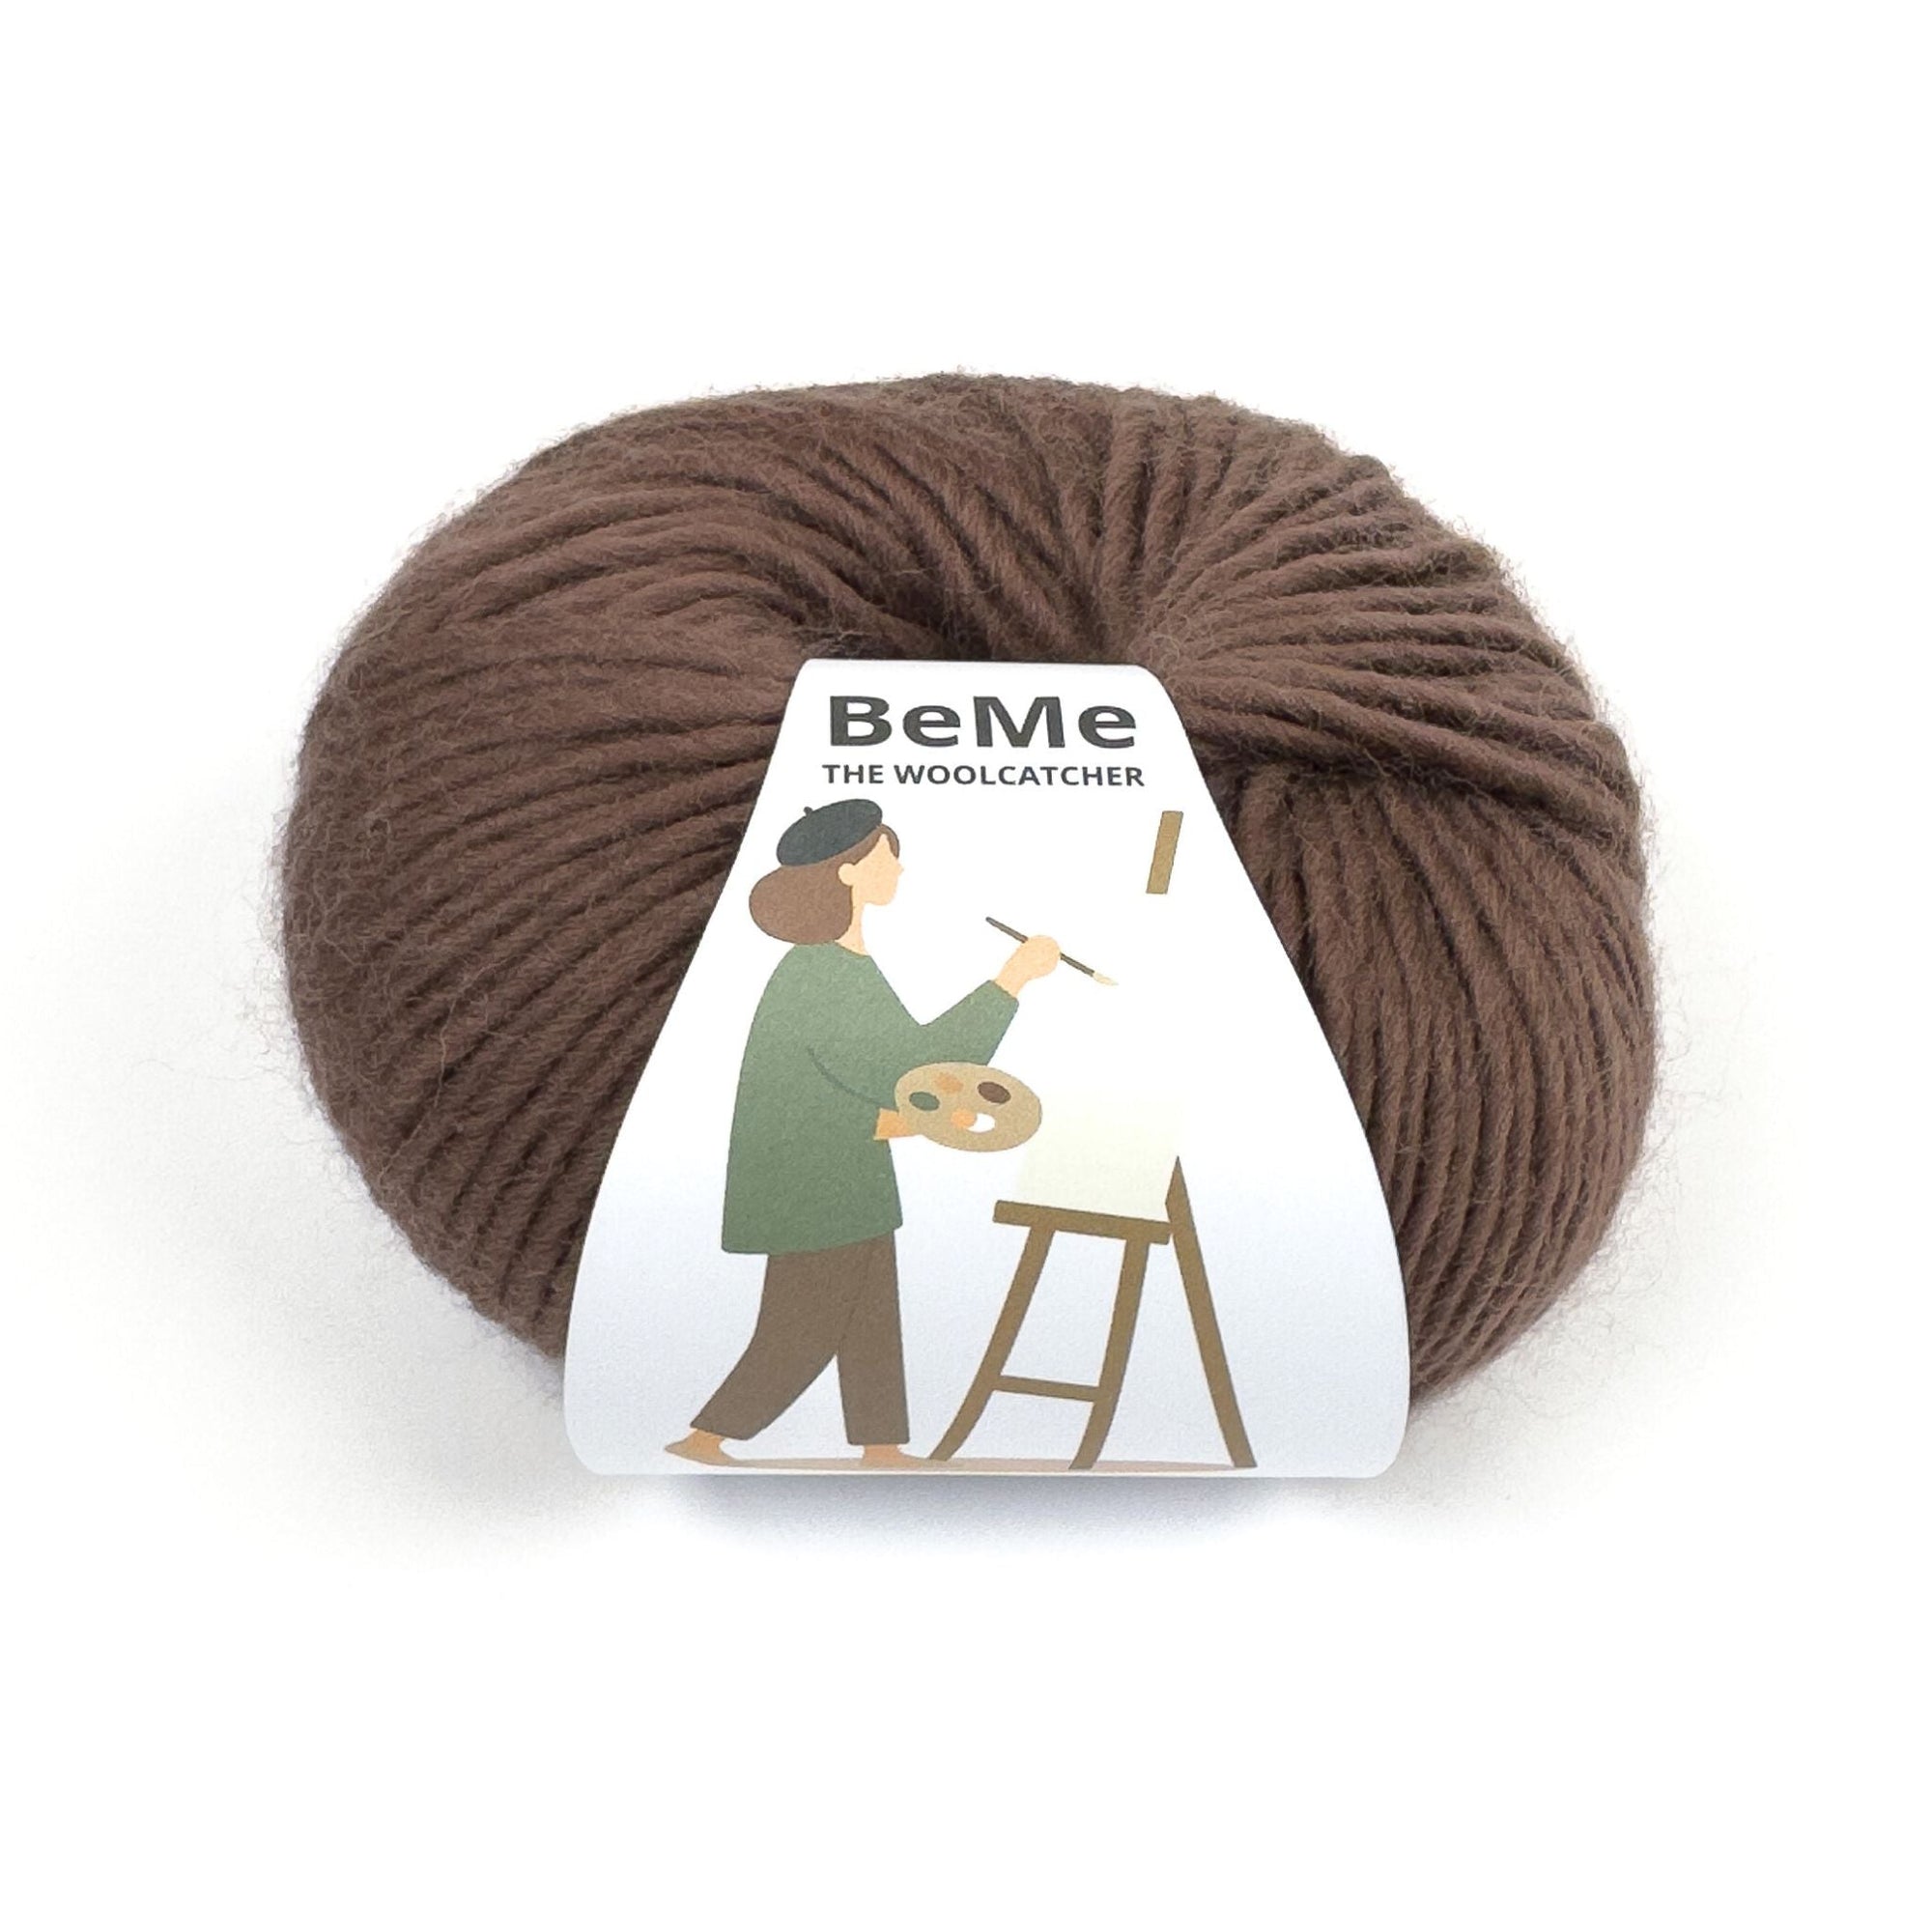
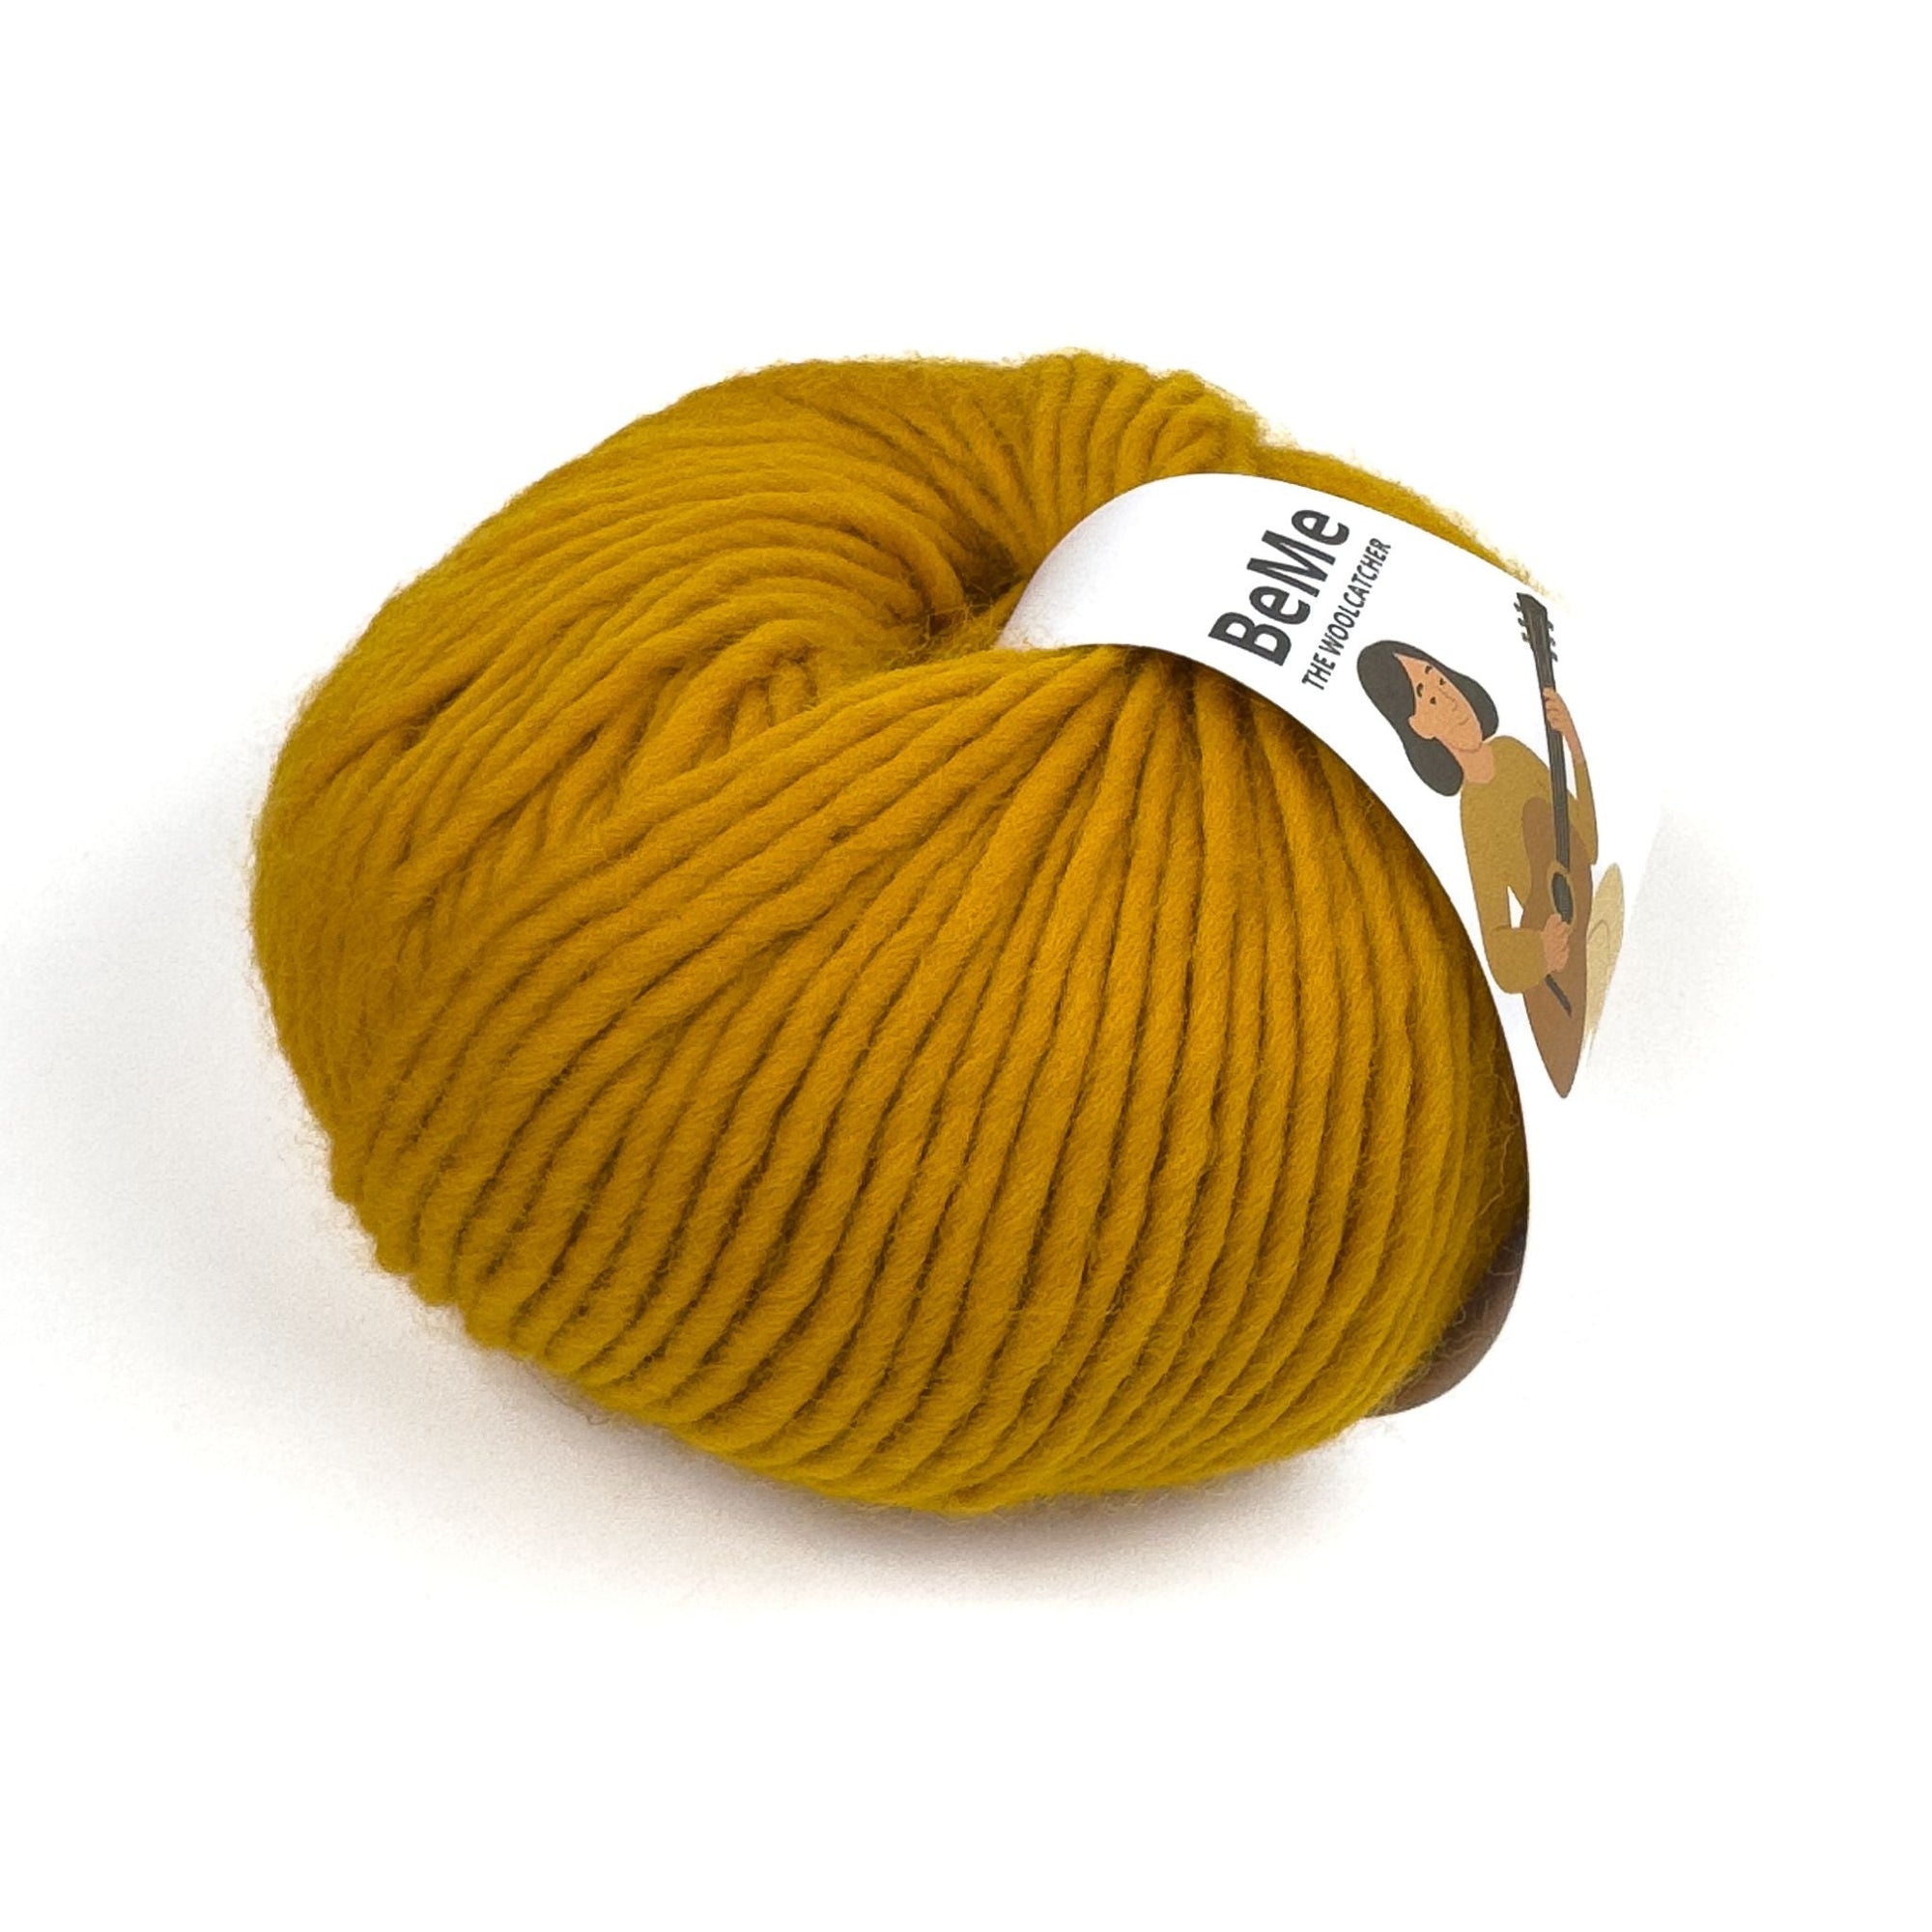
Yarn used: Be Me by The Woolcatcher
You can buy the yarn at
thewoolcatcher.com
Materials
- ~1.5 skeins of Be Me yarn
- 6 mm circular needles (or 6.5 mm for looser cables)
- Cable needle
- Stitch marker
- Tapestry needle
Gauge
Instructions
1. Cast On
Cast on 66 stitches. Join in the round and place a stitch marker.
2. Ribbing
Work 1×1 rib (K1, P1) for 25 rounds.
3. Increase Round
On round 26, evenly increase 9 stitches.
Total: 75 stitches
4. Cable Pattern
Repeat around:
✨ Make a cable cross every 10th round:
- Slip 3 stitches to a cable needle and hold in front. Knit the next 3 stitches, then knit the slipped stitches.
- Slip 3 stitches to a cable needle and hold in back. Knit the next 3 stitches, then knit the slipped stitches.
Work the cable pattern for 40 rounds total.
For a detailed cable tutorial, see our earlier videos.
5. Decreases
Second-to-last round:
Knit 3 stitches together all the way around, following the pattern.
Last round:
K4, P1 around.
6. Finishing
Cut the yarn and thread it through the remaining stitches. Pull tight to close the crown. Sew securely with a tapestry needle and weave in the ends.